Pin it
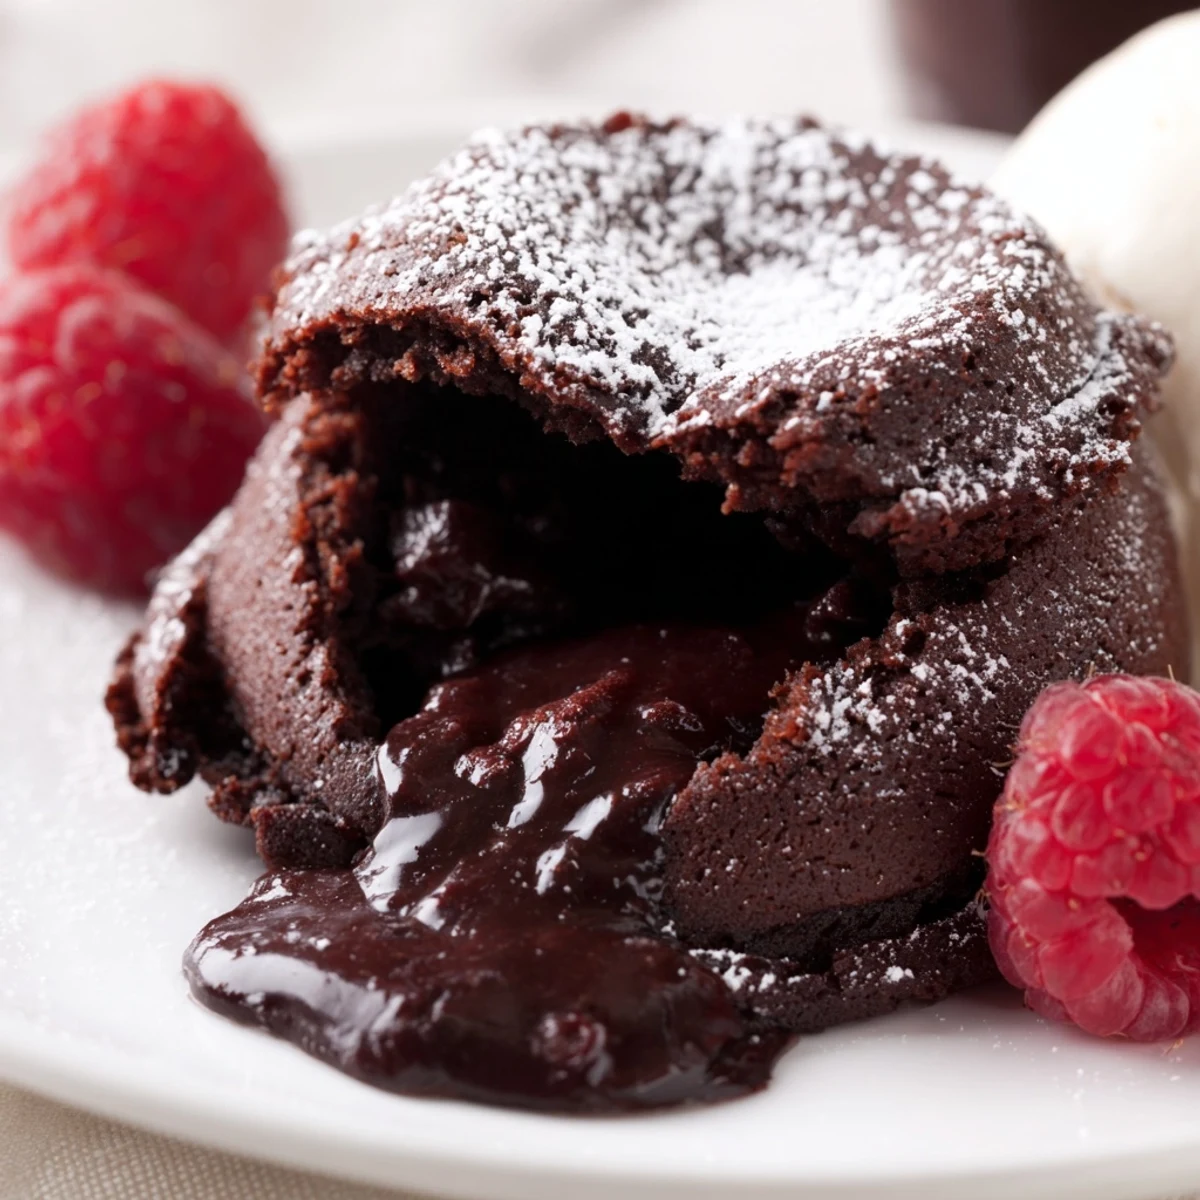
 These chocolate lava cakes offer a perfect balance of a tender chocolate exterior with a luscious, molten center that flows when cut. Made with high-quality dark chocolate, butter, eggs, and a hint of vanilla, the batter is gently mixed and baked in individual ramekins for an elegant presentation. Finished with optional powdered sugar, fresh berries, or vanilla ice cream, they are an exquisite choice for a special occasion dessert or a luxurious treat. The method involves melting chocolate and butter, folding into a smooth, airy batter, and baking briefly to maintain a gooey core.
There's a specific moment I think about whenever someone mentions molten chocolate cakes—standing in my kitchen at midnight, hearing my friend gasp as that perfect river of warm chocolate spilled across her plate. I'd been nervous about timing it right, worried the center wouldn't stay soft enough, but when that knife broke through the set exterior and the heat released that glossy, gooey middle, I understood why this dessert has such a reputation. These individual cakes are proof that sometimes the most elegant dishes are the simplest to pull off, as long as you trust your instincts and the oven.
I made these for the first time when my partner's parents came to dinner, and I was absolutely terrified I'd mess up in front of them. I remember hovering over the oven, watching the timer tick down, second-guessing whether eleven minutes or thirteen minutes would be the difference between success and failure. When I plated them and everyone leaned forward to watch the chocolate spill out, the kitchen went quiet for just a second—and then everyone smiled. That's when I realized this recipe doesn't just taste impressive; it performs.
Ingredients
- Dark chocolate (115 g, 60–70% cocoa), chopped: This is where the magic happens—good chocolate makes the difference between a decent molten cake and one that tastes genuinely luxurious, so don't skip on quality here.
- Unsalted butter (115 g), plus extra for greasing: You need real butter, and plenty of it, to get that silky texture and rich flavor that makes the center so irresistible.
- Eggs (2 large) and egg yolks (2 large): These create the structure that keeps the edges set while the center stays soft—the extra yolks are what make the difference.
- Powdered sugar (90 g, sifted): Sifting removes lumps and helps you fold everything together without overmixing, which is crucial for a tender crumb.
- All-purpose flour (35 g, sifted): Just enough flour to give the cake structure without making it dense or rubbery.
- Vanilla extract (1/2 tsp) and salt (pinch): These small additions deepen the chocolate flavor in ways you might not expect if you've never added them before.
- Cocoa powder or flour for ramekins: This coating prevents sticking and makes turning out the cakes so much easier.
- Powdered sugar, berries, and vanilla ice cream for serving: These aren't required, but they transform the plate into something worth photographing.
Instructions
- Heat your ramekins and set the stage:
- Preheat your oven to 220°C (425°F) and generously butter four 6-ounce ramekins, making sure to coat every crevice—this is your insurance policy for getting the cakes out cleanly. Dust each one with cocoa powder or flour, tap out the excess, and set them on a baking sheet so they're ready to go straight into the heat.
- Melt and combine the chocolate and butter:
- Set up a double boiler (or just set a heatproof bowl over a pot of barely simmering water) and add your chopped chocolate and butter together, stirring slowly until everything is smooth and glossy. This gentle method prevents the chocolate from seizing, which happens when it gets too hot or comes in contact with even a tiny drop of water, so take your time here.
- Whisk the eggs and sugar into a pale ribbon:
- In a separate bowl, whisk your whole eggs, egg yolks, and sifted powdered sugar together until the mixture becomes thick, pale, and slightly foamy—this should take about two minutes and you'll see the volume increase slightly. This aeration is what gives the cakes their delicate structure, so don't skip this step or rush it.
- Fold the chocolate into the eggs:
- Let the chocolate mixture cool for just a minute or two, then gently whisk it into your egg mixture until everything is combined and there are no streaks of white. The warmth of the chocolate will slightly cook the eggs, which is exactly what you want for food safety.
- Add flour with a gentle hand:
- Sift your flour directly over the batter and fold it in gently with a spatula until you just barely can't see any white streaks—overmixing here creates tough, dense cakes instead of tender ones. This is one of those moments where less is more.
- Fill the ramekins:
- Divide the batter evenly among your prepared ramekins, filling each about three-quarters full. If you fill them too much, the molten center won't stay contained when you turn them out.
- Bake with precision timing:
- Place the baking sheet in your preheated oven and bake for eleven to thirteen minutes—the edges should look set and slightly risen, but the centers will jiggle slightly when you gently shake the sheet. Start checking at eleven minutes, as every oven is different and a minute can be the difference between perfect and overdone.
- Turn out onto plates:
- Let the cakes cool for exactly one minute (not much longer, or the center will start to set), then run a thin knife carefully around the edges of each ramekin. Place a serving plate upside-down over the ramekin and flip it over with confidence—the cake should slide right out.
- Serve immediately:
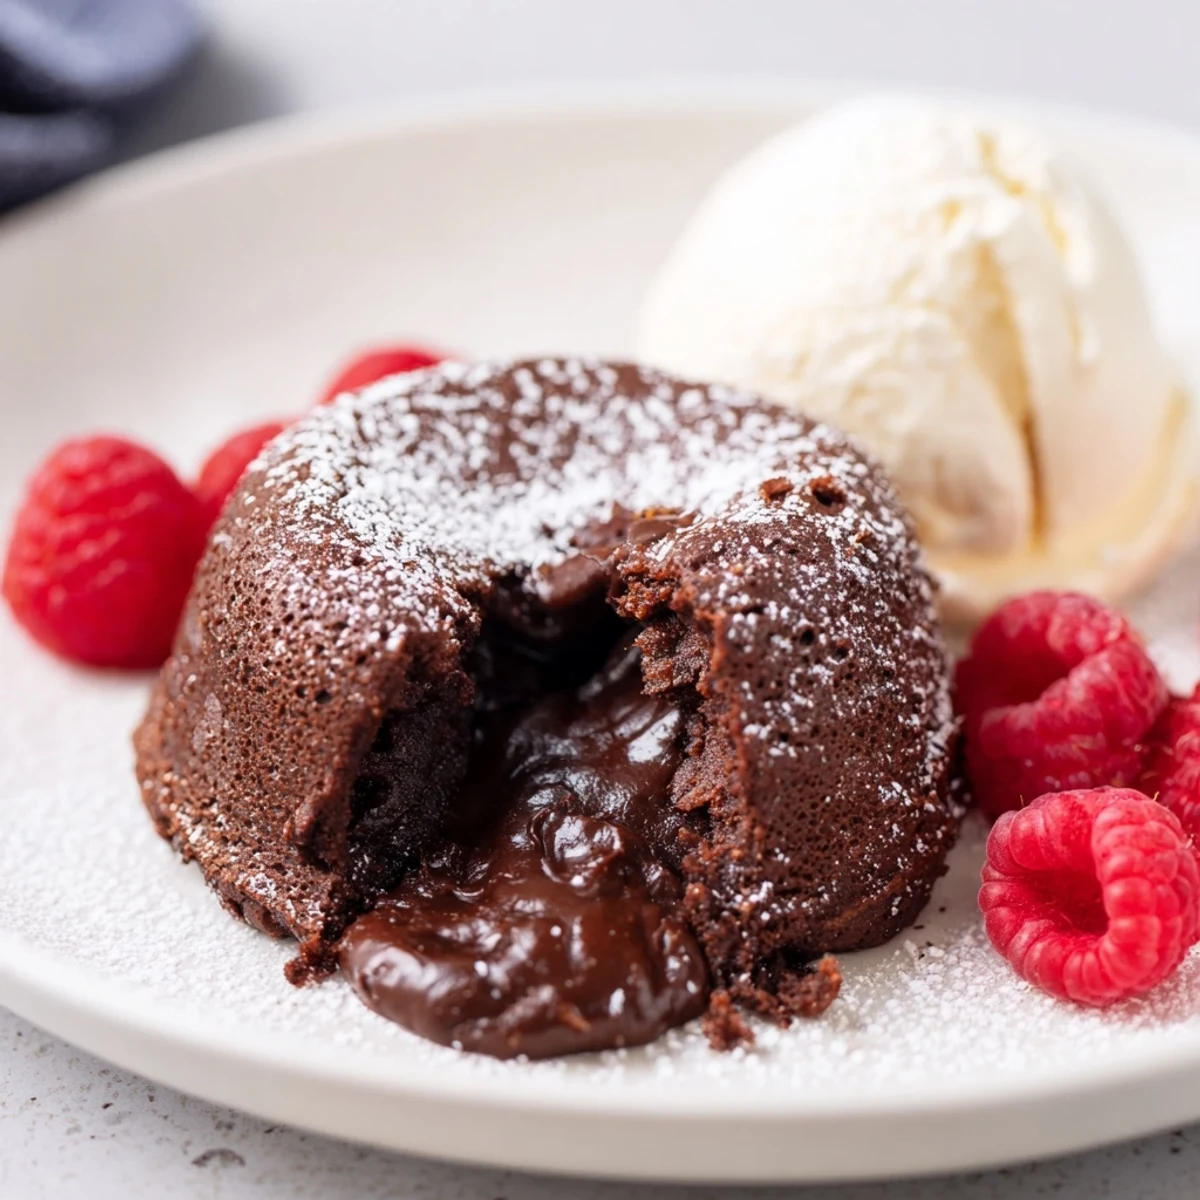
- Dust with powdered sugar if you like, and serve right away with berries and a scoop of vanilla ice cream if you want to make it extra special. This is one dessert where timing truly matters—it's best enjoyed while the center is still soft and warm.
 Pin it
 The first time I served these to someone, they didn't expect the warm chocolate center, and their whole face lit up in surprise and joy—it was one of those small kitchen victories that reminds me why I love cooking for people. Since then, these cakes have become my emergency fancy dessert, the thing I make when I want to feel like I'm doing something impressive without spending hours in the kitchen.
The Science Behind the Molten Center
What makes these cakes special is the balance between structure and softness—the egg mixture creates enough body to hold the shape, while the high ratio of chocolate and butter keeps the center tender and pourable. The high oven temperature also plays a role, baking the outside quickly while leaving the inside underdone on purpose. Understanding this balance is what separates a perfect molten cake from one that's either too firm or too loose.
Flavor Variations and Personalization
While the classic dark chocolate version is hard to beat, these cakes are surprisingly adaptable if you want to experiment—switching to milk chocolate gives you something sweeter (just reduce the sugar by about a tablespoon), or adding a tiny pinch of espresso powder to the chocolate mixture deepens the flavor in a way that tastes sophisticated without being obvious. I've also seen people add a whisper of cardamom or cinnamon, or even a few flakes of sea salt on top before serving, and it always feels like a special twist on something already delicious.
Make-Ahead and Storage Tips
One of the best things about this recipe is how forgiving it is on your timeline—you can prepare the ramekins and make the batter up to twenty-four hours ahead, cover it loosely, and bake straight from the fridge when you're ready to serve. Just add a minute or two to the baking time if the batter is cold, and remember that these are best served within minutes of coming out of the oven when the chocolate is still flowing freely.
- If you're cooking for a crowd, you can make all the batter ahead, then bake in batches if needed, keeping the first batch warm on a low oven shelf while you finish the rest.
- Leftover cakes (if there are any) can be gently reheated in a 180°C oven for about four minutes to warm through and soften the center again, though they're honestly best eaten fresh.
- These don't freeze well once baked, but you can freeze the unbaked batter in the ramekins for up to a month and bake straight from the freezer, adding two to three minutes to the baking time.
 Pin it
 These cakes remind me that sometimes the most memorable meals aren't the complicated ones—they're the ones where everything comes together at exactly the right moment, and a simple dessert becomes the highlight of the evening. I hope your kitchen fills with the smell of melting chocolate and your guests' reactions are just as delighted as mine have been.
Common Recipe Questions
- → What makes the center molten in these cakes?
-
The cakes are baked for a short time just until the edges set while the center remains soft and gooey, creating a molten texture.
- → Can I prepare the batter in advance?
-
Yes, the batter can be refrigerated up to 24 hours. Bake the cakes straight from the fridge, adding 1–2 minutes to the baking time.
- → What chocolate works best for these cakes?
-
High-quality dark chocolate (60–70% cocoa) delivers a rich flavor, but milk chocolate can be used for a sweeter variation.
- → How do I prevent the cakes from sticking in ramekins?
-
Generously butter the ramekins and dust lightly with cocoa powder or flour before adding batter to ensure easy release.
- → Can I add flavors to enhance the chocolate?
-
A pinch of espresso powder can be added to intensify the chocolate's depth without overpowering the delicate balance.