 Pin it
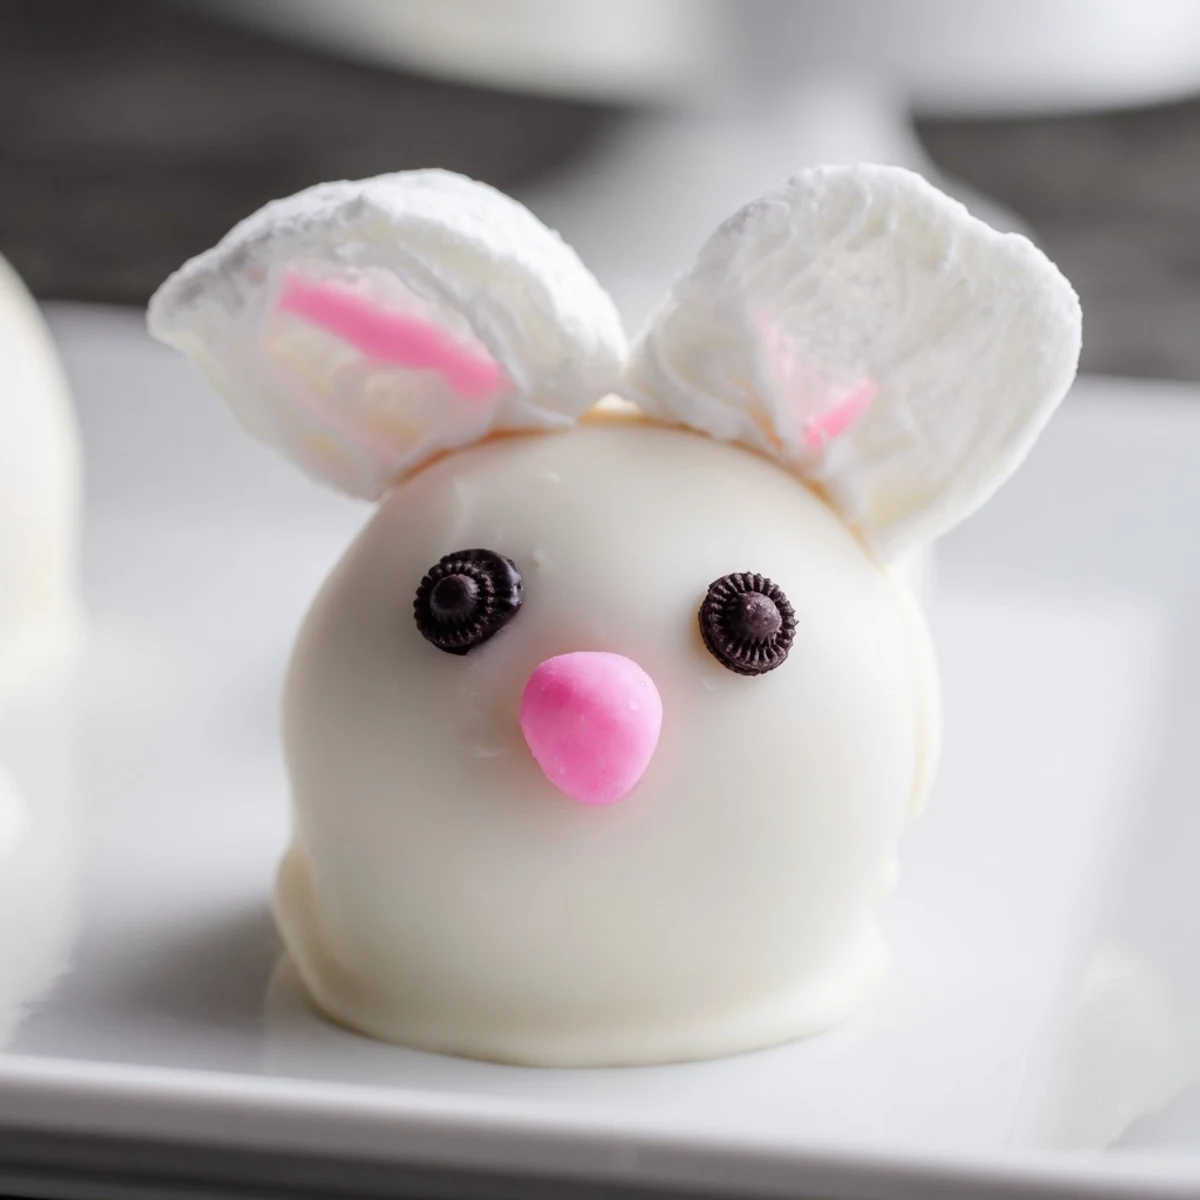
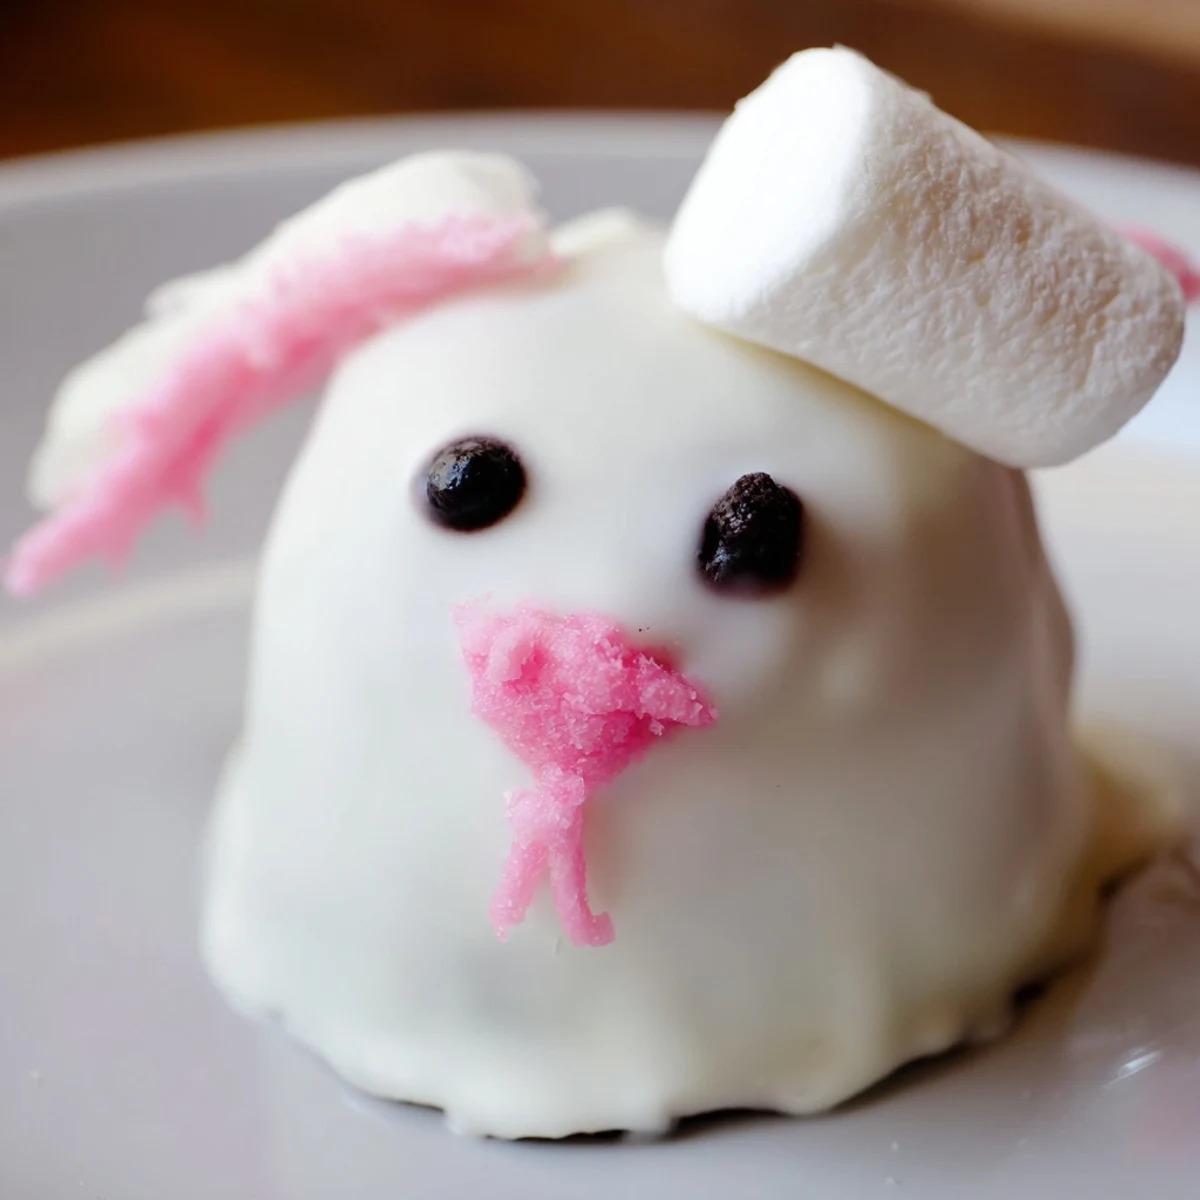
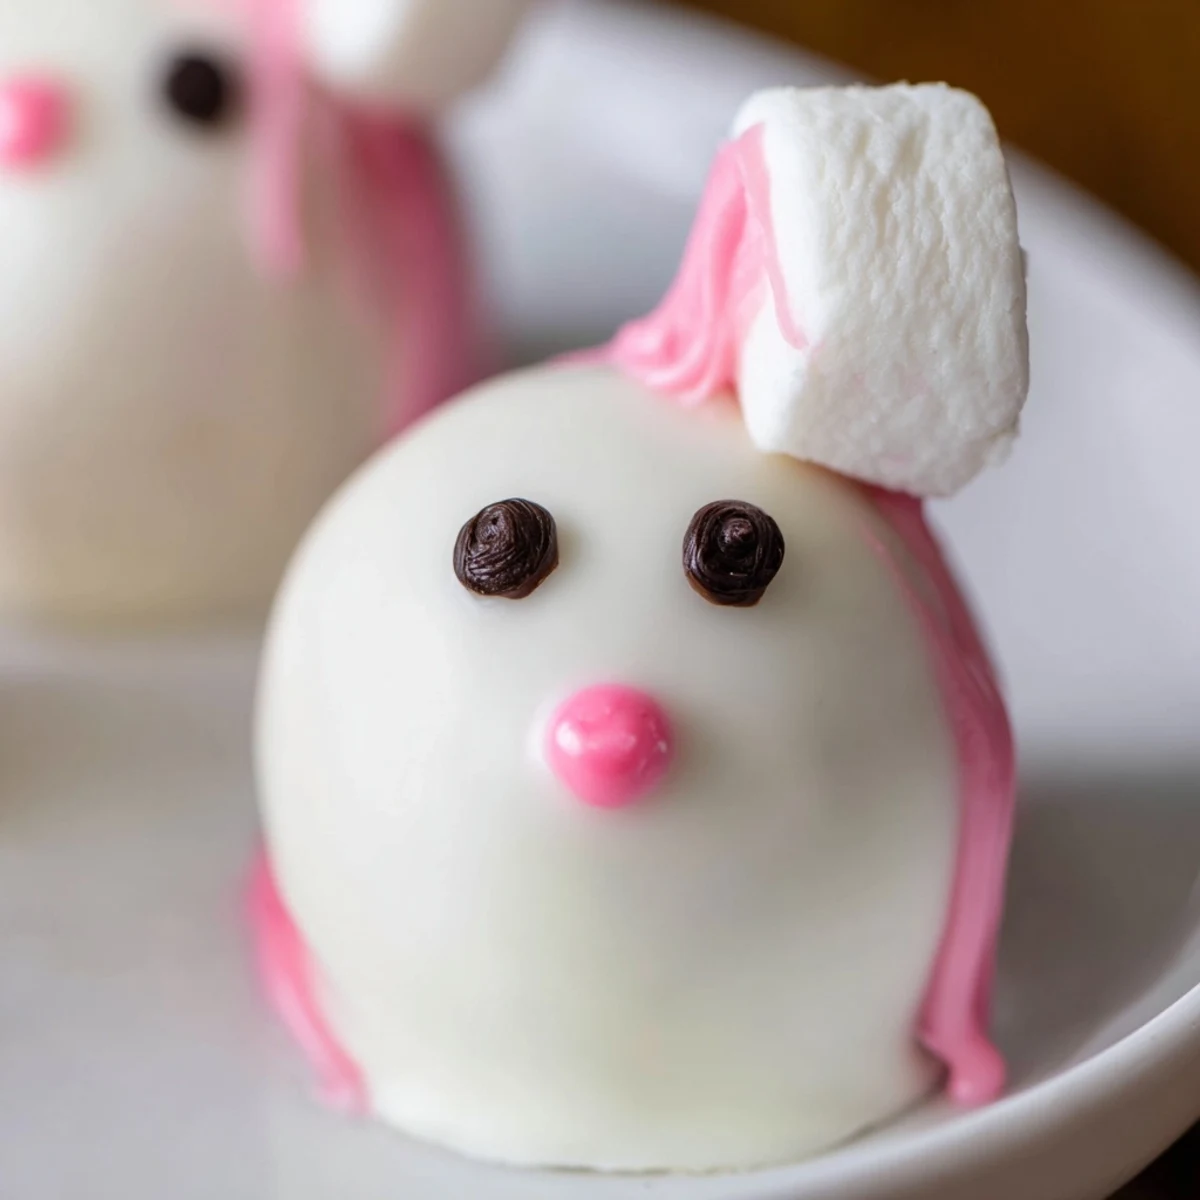
 These adorable bunny-shaped treats combine crushed Oreo cookies with cream cheese, dipped in smooth white chocolate and decorated with marshmallow ears and tails. The process involves pulsing cookies into fine crumbs, blending with softened cream cheese to form a dough, then shaping into oval bunny heads. After chilling, the balls are coated in melted white chocolate and decorated with mini marshmallow pieces for ears and tails, pink candy details for noses, and edible markers for eyes. Ready in just 90 minutes with most time spent chilling for easy handling.
The kitchen counter was covered in white chocolate splatters and my kids were arguing over who got to draw the bunny eyes with the food marker. We were testing Easter treats for a school party and these Oreo balls had somehow taken over our entire afternoon in the best possible way.
My sister sent me a photo of these years ago and I assumed they were bakery bought. When she admitted they were Oreos and cream cheese I felt ridiculous for overthinking dessert making for so long. Now they are the one thing my nieces actually request by name.
Ingredients
- 36 Oreo cookies: Regular not Double Stuf because the cookie to cream ratio actually matters here and too much filling makes the dough too soft to shape
- 225 g (8 oz) cream cheese softened: Must be truly soft or you will end up with chunks of cheese visible in your dark chocolate balls which is nobody's idea of appetizing
- 400 g (14 oz) white chocolate or white candy melts: Candy melts are easier for beginners since they do not seize up like real white chocolate can
- Pink candy melts or pink food coloring: For those adorable ears and nose details that make them look like actual bunnies instead of just blobs
- Mini marshmallows: You need about half a bag cut cleverly some halved for tails some sliced into thin slivers for ears
- Edible black food marker or black decorating gel: The food marker is way easier for control but gel works if that is what you have
- Sprinkles or colored sugar: Optional but honestly who turns down extra sprinkles on Easter treats
Instructions
- Make the Oreo dough:
- Pulse those cookies in your food processor until they resemble beach sand. Add the softened cream cheese and blend until everything comes together into a smooth dark dough that holds its shape when squeezed.
- Shape your bunnies:
- Scoop about tablespoon portions and roll into balls then gently elongate them into slight ovals to form bunny heads. Cut your mini marshmallows now half for tails and thin slivers for ears because your hands are about to get messy.
- Chill before dipping:
- Arrange all your bunny heads on a parchment lined baking sheet and freeze for at least 30 minutes. This step is not optional warm centers will melt right into your coating and make a giant mess.
- Prepare your coating:
- Melt the white chocolate or candy melts in 30 second bursts in the microwave stirring between each one until completely smooth and glossy like thick cream.
- Dip and decorate:
- Drop each chilled Oreo ball into the white chocolate lift it with a fork tap off the excess and return it to the parchment. While the coating is still wet press two marshmallow slivers into the top for ears and one half marshmallow at the back for the tail.
- Add the faces:
- Let the chocolate set for about 10 minutes until firm. Dip a toothpick into melted pink candy melts or food coloring and paint a tiny triangle nose and fill in those marshmallow ears. Draw simple dot eyes with your black marker and you have officially made something adorable.
 Pin it
 Last Easter my daughter insisted on making rainbow colored bunnies and even though they looked slightly chaotic they were the first dessert to disappear at our family gathering. Sometimes the messy ones taste better anyway.
Working With Candy Melts
I have learned that candy melts are much more forgiving than actual white chocolate which can seize and turn grainy if you look at it wrong. The melts also set faster so you can decorate sooner and eat sooner which is really the whole point.
Storage Strategy
These need to stay cold so the filling does not soften. I keep them in the fridge in an airtight container separated by parchment paper so they do not stick to each other. They actually taste better slightly chilled anyway.
Make Ahead Magic
You can make the Oreo balls and freeze them plain for up to a month then dip and decorate whenever you need them. This is honestly how I survive holiday party season without losing my entire weekend to kitchen time.
- Dip and decorate the day before your event for freshest appearance
- Keep your food markers capped tightly or they will dry out mid bunny
- Have extra marshmallows ready because somehow they disappear while you are working
 Pin it
 These bunny Oreo balls have become our family's Easter tradition and honestly I look forward to our messy kitchen afternoon just as much as the kids do. Sometimes the best holidays are measured in chocolate fingerprints.
Common Recipe Questions
- → How long do bunny Oreo balls stay fresh?
-
Store in an airtight container in the refrigerator for up to 5 days. The chocolate coating stays fresh and the filling remains perfectly creamy.
- → Can I use Double Stuf Oreos instead of regular?
-
Regular Oreos work best as Double Stuf creates a filling that's too soft. The standard cookie-to-cream ratio provides the ideal dough consistency.
- → What if I don't have a food processor?
-
Place Oreos in a sealed plastic bag and crush with a rolling pin until fine crumbs form. Mix with cream cheese by hand until fully combined.
- → Can I make these ahead for a party?
-
Yes! Prepare up to 2 days in advance and keep refrigerated. The flavors actually develop better after sitting for a day.
- → How do I prevent the chocolate from seizing when melting?
-
Melt in 30-second intervals, stirring between each. Avoid getting any water in the chocolate as even a few drops can cause seizing.