 Pin it
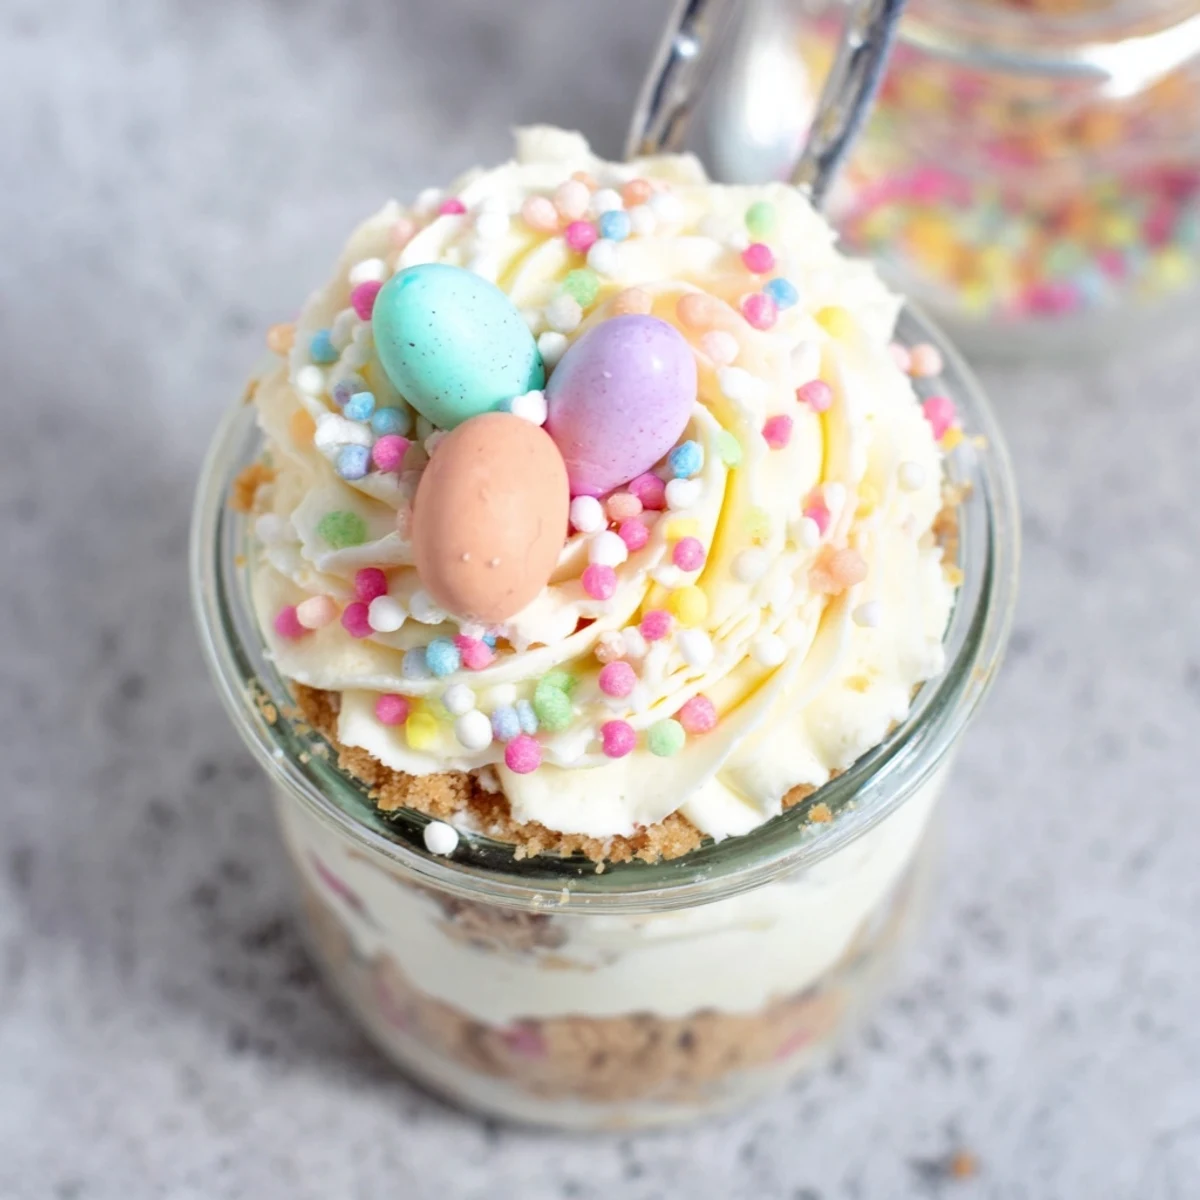
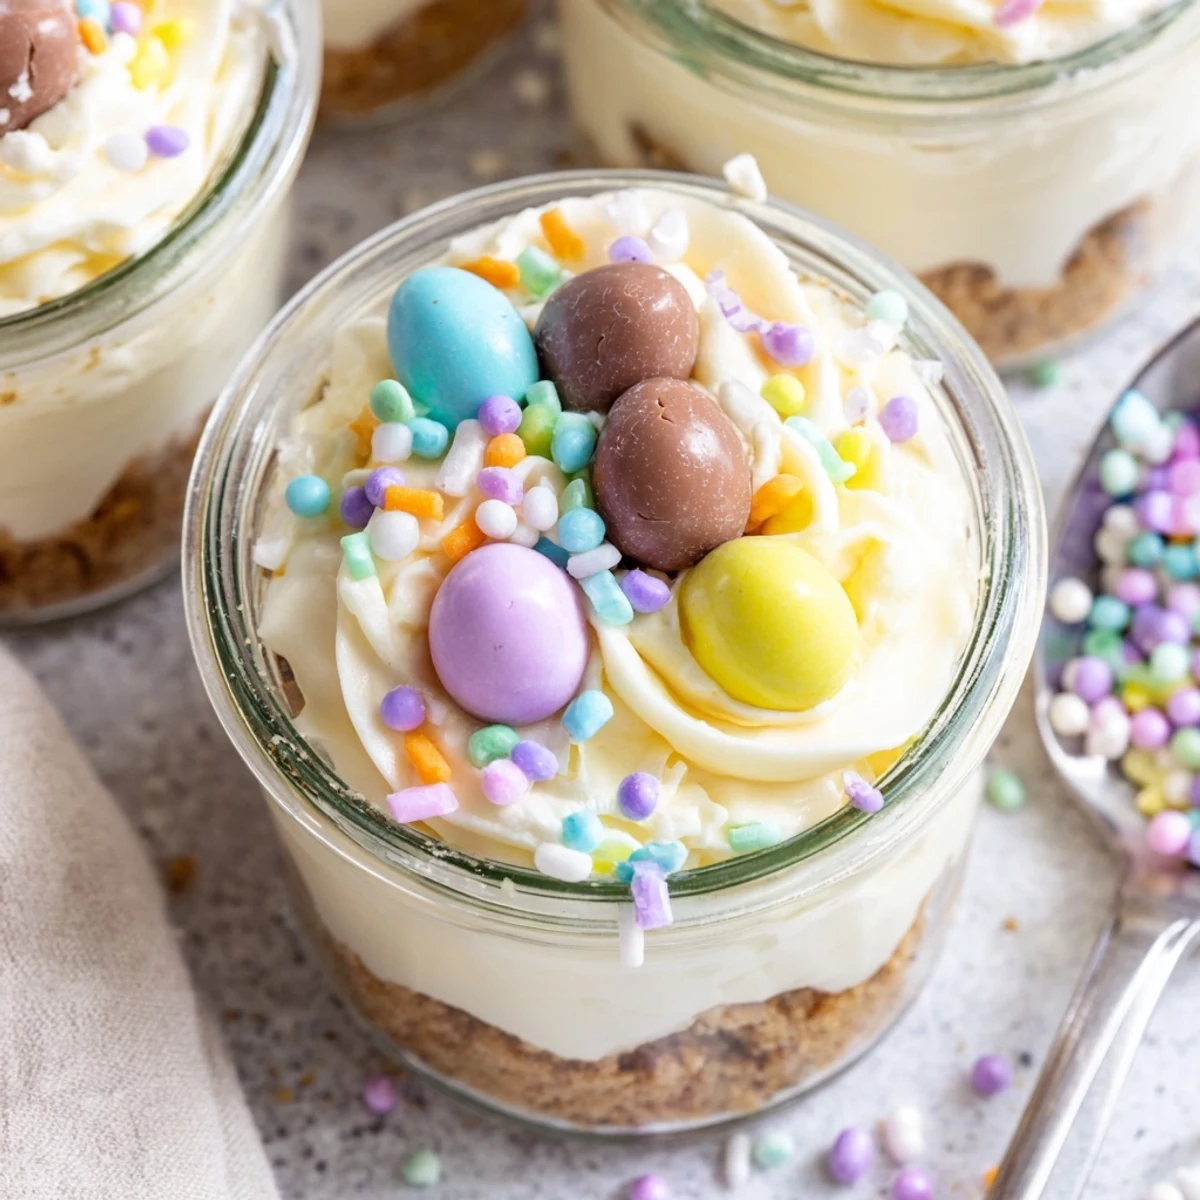
 These individual Easter egg cheesecake jars feature a buttery cookie crust topped with silky cream cheese filling and surprise chocolate eggs hidden inside. The no-bake preparation makes them perfect for holiday entertaining, while the individual portions create an impressive presentation.
Each jar starts with a digestive biscuit base, followed by a whipped cream cheese layer that gets studded with mini chocolate eggs. Another creamy layer covers the treats completely, creating an exciting discovery when dug into with a spoon.
After chilling to set, the jars are crowned with whipped cream, additional chocolate eggs, and colorful sprinkles for maximum festive appeal. The combination of crunchy crust, smooth cheesecake, and chocolate surprises creates an irresistible texture and flavor experience that celebrates everything we love about Easter treats.
Last Easter, my youngest niece discovered hidden chocolate eggs inside her dessert and let out the sweetest gasp I have ever heard. Watching six kids simultaneously dig through these cheesecake jars hunting for treasure became the highlight of our holiday afternoon. Now they request these every year, and honestly, the adults get just as excited about the hunt.
I first made these for a potluck when I realized transporting a whole cheesecake would be disastrous. The jars traveled perfectly in a cooler, and something about revealing the hidden eggs felt like a little magic trick. Now they are my go to whenever I need a dessert that feels special but will not break during the car ride.
Ingredients
- 1 cup digestive biscuits or graham crackers: Crush these into fine crumbs for a buttery foundation that holds up beautifully
- 3 tbsp unsalted butter, melted: The glue that transforms dry crumbs into a pressable crust
- 8 oz cream cheese, softened: Let this come to room temperature completely for the silkiest texture
- 1/3 cup granulated sugar: Just enough sweetness without overpowering the tangy cream cheese
- 1 tsp vanilla extract: Pure vanilla makes all the difference in a no bake recipe
- 1 cup heavy cream, cold: The colder the better for achieving those crucial stiff peaks
- 18 mini chocolate Easter eggs: Solid eggs work best for the surprise element inside
- 1/2 cup whipped cream: For that final cloud like topping
- 2 tbsp rainbow sprinkles: Pastel pearls feel more sophisticated, rainbow more festive
Instructions
- Build the buttery crust:
- Mix crushed biscuits with melted butter until every crumb is coated and smells like cookie heaven
- Press and pack:
- Spoon two tablespoons into each jar, using the back of a spoon to firmly press the crust into an even layer
- Create the creamy base:
- Beat cream cheese, sugar, and vanilla until completely smooth with no lumps remaining
- Whip the cream:
- In a separate bowl, whip cold heavy cream until stiff peaks form
- Fold and fluff:
- Gently combine whipped cream into the cheesecake mixture until light and airy
- Layer the love:
- Spoon cheesecake filling over the crust, filling each jar halfway up
- Hide the treasure:
- Nestle 2 to 3 mini eggs deep into the cheesecake layer in each jar
- Conceal the surprise:
- Add another layer of cheesecake mixture to completely cover the hidden eggs
- Chill and set:
- Refrigerate for at least 2 hours or overnight for the best texture
- Finish with flair:
- Top with whipped cream swirls and festive sprinkles right before serving
 Pin it
 My friend Sarah made these for her daughter's birthday and the kids sat at the table comparing how many eggs they found like it was a competition. Something about individual servings makes desserts feel extra special, like each person got their own little present.
Making Ahead
These jars actually taste better after resting overnight, letting flavors meld together. I have made them up to 24 hours in advance and kept them chilled until party time. Just wait to add the final whipped cream topping until right before serving.
Customizing Your Layers
Chocolate cookies in the crust add a moody depth that pairs beautifully with milk chocolate eggs. I have also swapped the sprinkles for crushed toasted coconut or chopped nuts on top. The hidden treasure concept works with any small candy or even fresh berries.
Serving Suggestions
Set up a toppings bar and let guests decorate their own jars for extra fun at Easter brunch. Line them up on a tray with little place cards showing each person's name.
- Keep jars chilled until the moment of revelation
- Small spoons work better than forks for digging
- Have extra eggs handy for the adults
 Pin it
 There is something wonderfully nostalgic about hiding treats inside other treats. These cheesecake jars turn dessert into an adventure.
Common Recipe Questions
- → Can I make these cheesecake jars ahead of time?
-
Yes, these jars can be prepared up to 24 hours in advance and stored in the refrigerator. The cheesecake actually benefits from the extra chilling time, allowing the flavors to meld together and the texture to firm up beautifully.
- → What type of jars work best for this dessert?
-
Small glass jars holding 6-8 ounces work perfectly. Mason jars, repurposed jam jars, or glass pudding cups all create an attractive presentation. Clear glass allows the beautiful layers to be visible before digging in.
- → Can I use different Easter candies instead of chocolate eggs?
-
Absolutely! Mini Cadbury eggs, peanut butter cups, chocolate bunnies, or even colorful jelly beans can be hidden inside. Just ensure the candies are small enough to nestle into the cheesecake layer without disrupting the structure.
- → Do I need special equipment to make these?
-
An electric mixer makes whipping the cream easier, but a whisk and some elbow grease work too. You'll need mixing bowls, measuring cups, and six glass jars. No oven required, making these perfect for warm spring days.
- → How long will the jars keep in the refrigerator?
-
These cheesecake jars will stay fresh for 3-4 days when properly sealed and refrigerated. The cookie crust may soften slightly over time, but the creamy filling remains delicious. Add whipped cream and sprinkles just before serving for the best texture.
- → Can I make these dairy-free?
-
Yes, substitute dairy-free cream cheese and coconut cream or plant-based whipping cream. Use dairy-free butter and vegan chocolate eggs or candy. The texture will be slightly different but still delicious and creamy.