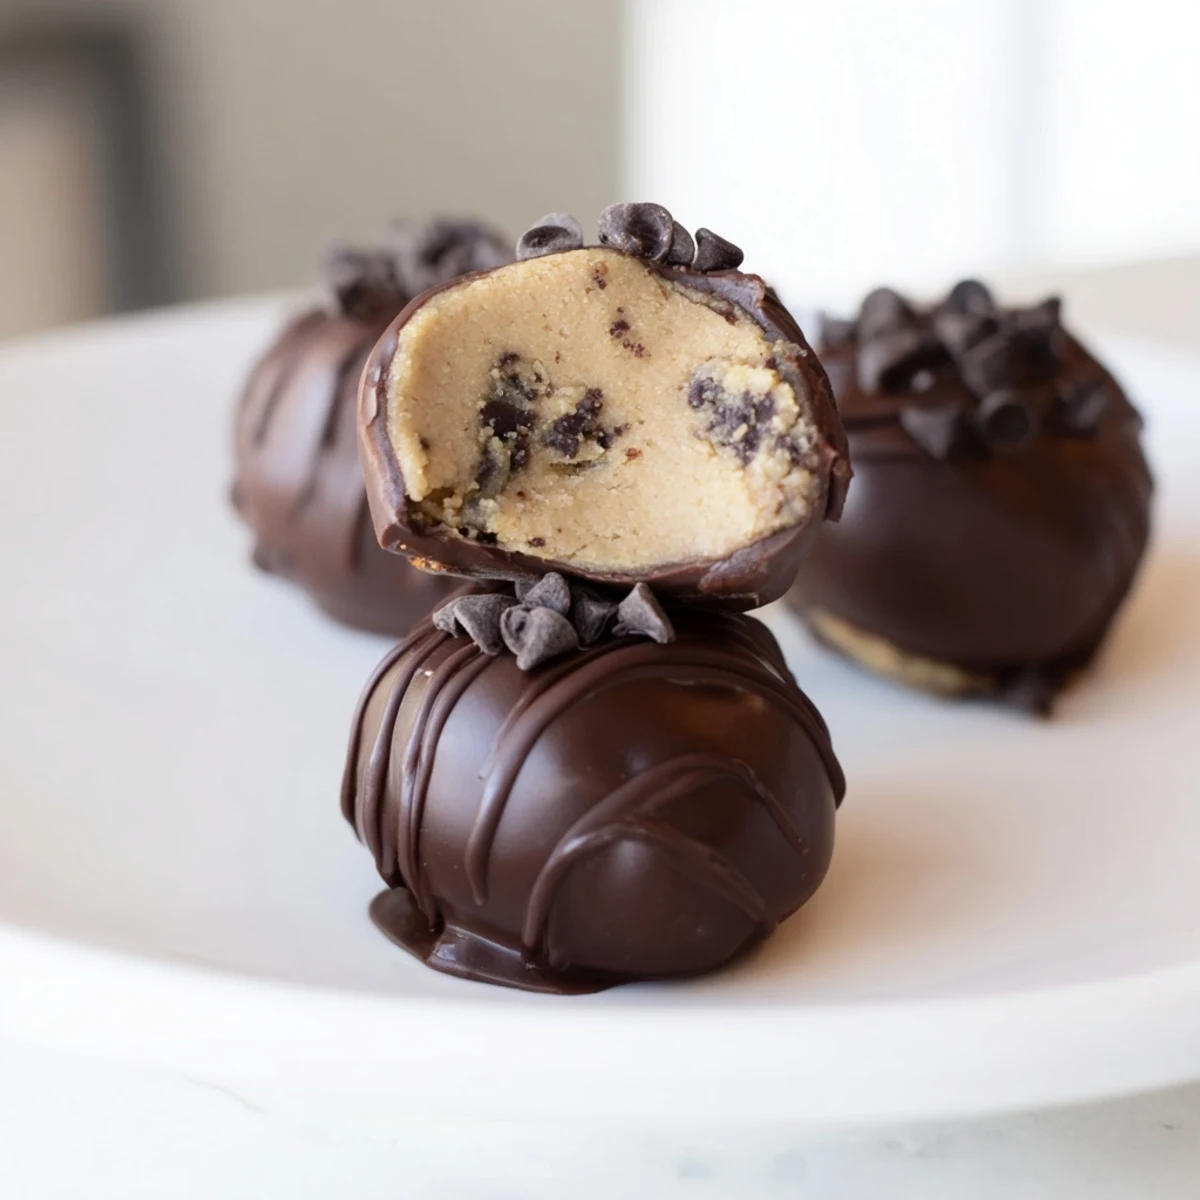
 Pin it
 These bite-sized chocolate chip cookie dough truffles combine rich, egg-free dough with mini chocolate chips and a smooth chocolate coating. The heat-treated flour ensures safety without compromising texture. After chilling, each dough ball is dipped in melted chocolate for a glossy finish. Perfect as a no-bake dessert, these treats are easy to prepare and delightfully creamy, with options to customize coatings and add crunch with toasted nuts. Ideal for an effortless, elegant sweet bite.
The first time I made cookie dough truffles, I was standing in my kitchen on a rainy Sunday afternoon, craving something that tasted like pure indulgence but didn't require turning on the oven. I'd always loved edible cookie dough, but the raw egg thing made me nervous until I discovered heat-treated flour—a game changer that let me enjoy the real thing safely. What started as an experiment turned into something I now make whenever I need a gift that feels fancy but takes barely any effort. These little chocolate-covered bites are proof that sometimes the best desserts are the ones you eat with your fingers.
I remember bringing a batch of these to my neighbor Sarah's book club, and watching grown women actually pause mid-sentence when they tasted one was worth every minute of rolling. She asked for the recipe immediately, then came back the next week saying she'd already made three batches. That's when I knew I'd stumbled onto something special—something that bridges the gap between 'I made this myself' pride and 'this tastes like it came from a fancy chocolatier' sophistication.
Ingredients
- Unsalted butter: Use softened butter to cream properly with the sugars; cold butter won't whip up light and fluffy, which is the whole texture goal here.
- Packed light brown sugar: The molasses in brown sugar adds depth and a subtle caramel note that keeps these from tasting one-dimensional.
- Granulated sugar: This balances sweetness and helps with the right crumb texture in the dough.
- Milk: Just a splash keeps the dough tender and prevents it from getting gritty or dry.
- Vanilla extract: Don't skip this or use imitation if you can help it; it's the background note that makes people ask what's in them.
- All-purpose flour, heat-treated: This is non-negotiable for safety in edible dough; baking it at 350°F for just five minutes kills any bacteria without cooking out the flavor.
- Salt: A pinch enhances everything, especially the chocolate.
- Mini chocolate chips: Use quality chips if you can; cheap ones have a waxy finish that throws off the whole vibe.
- Semisweet or dark chocolate for coating: This is your outside layer, so choose something you actually want to eat; it matters more than you'd think.
- Coconut oil or vegetable oil: Just a teaspoon thins the chocolate enough to coat smoothly without making it taste oily.
Instructions
- Heat-treat the flour:
- Preheat your oven to 350°F and spread flour in a thin, even layer on a baking sheet. Bake for exactly five minutes—you're not trying to toast it, just warm it through to eliminate any pathogens. Let it cool completely on the counter before using it; warm flour won't cream properly with the butter.
- Cream the butter and sugars:
- In a mixing bowl, beat softened butter with brown sugar and granulated sugar for about two minutes until the mixture looks light, fluffy, and pale. This step incorporates air into the dough, which makes the truffles tender instead of dense. You'll know you're done when it looks like fluffy frosting.
- Mix in the wet ingredients:
- Add milk and vanilla extract and beat until everything is completely combined and smooth. There shouldn't be any streaks of dry ingredients or visible sugar granules.
- Add flour and salt:
- Gently fold in the cooled, heat-treated flour and salt, stirring just until no flour streaks remain. Overmixing at this point makes the dough tough, so stop as soon as everything comes together.
- Fold in chocolate chips:
- Add the mini chocolate chips and fold them in gently with a spatula. This is when you taste a tiny pinch if you want to—one of the small joys of making edible dough.
- Roll the dough balls:
- Using a tablespoon or small ice cream scoop, portion out the dough and roll each piece between your palms into a smooth ball about the size of a walnut. Uniform size matters because they'll cook at the same rate—I mean, chill at the same rate.
- Chill until firm:
- Place the rolled balls on a parchment-lined baking sheet and freeze for 20 to 30 minutes until they're solid enough that they won't fall apart when dipped. You want them cold but not rock-hard; if they're too cold, the coating won't stick smoothly.
- Melt the chocolate:
- Chop or use chocolate chips and melt with coconut oil (if using) in a microwave in 30-second bursts, stirring between each one, or use a double boiler over gentle heat. Either way, you're aiming for smooth and pourable, not hot; if it's too hot, the outside coating will be uneven.
- Dip and coat:
- Using a fork or dipping tool, submerge each cold dough ball into the melted chocolate, let the excess drip off for a second, and gently slide it back onto parchment paper. Work quickly so the chocolate sets evenly, and don't worry about perfection; rustic drips look handmade and special.
- Add finishing touches (optional):
- If you want, drizzle extra chocolate back and forth across the truffles or sprinkle mini chips on top while the coating is still tacky. Let your instinct guide you here; there's no wrong answer.
- Set and serve:
- Refrigerate the finished truffles for about 15 minutes until the chocolate hardens completely. They're delicious cold straight from the fridge or at room temperature, and they actually taste better if you let them sit out for a minute or two before eating so the dough softens slightly.
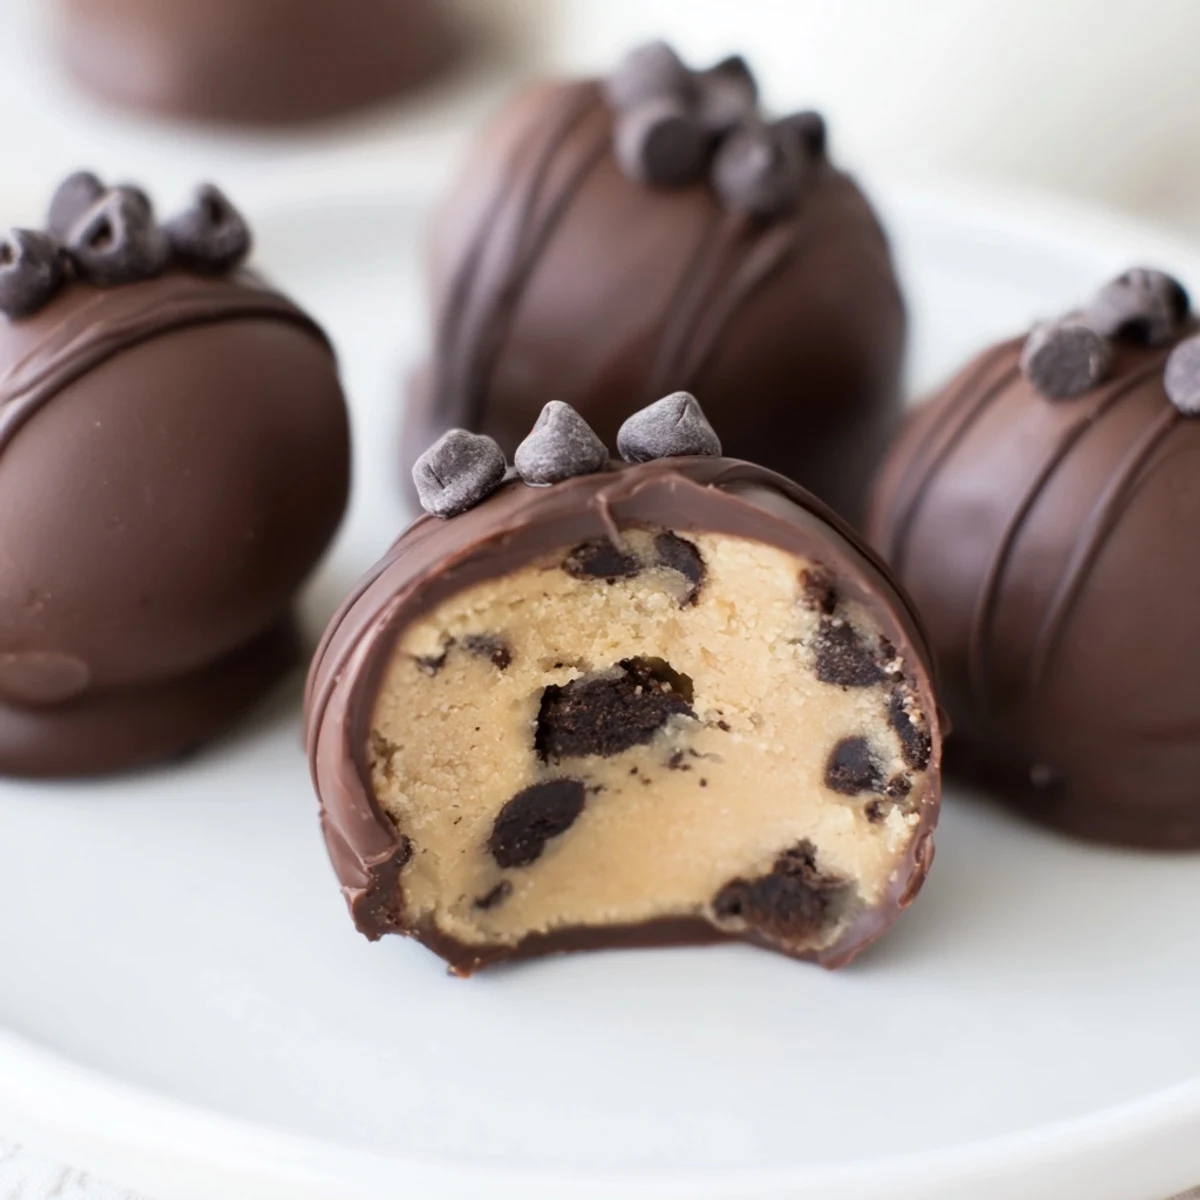 Pin it
 The moment that made these truffles stick around in my regular rotation was when my sister bit into one at Christmas and literally closed her eyes in that way that means something tastes exactly right. She's not easy to impress with desserts, but something about the way the soft cookie dough contrasts with the hard chocolate shell got her. Now I make them every holiday, and somehow they've become the thing people ask for before I even mention what I'm bringing.
Why the Dough Stays Soft
Most cookie dough recipes turn grainy or crumbly when they sit, but this one stays creamy because of the balance of fat and sugar. The butter content is high enough to keep everything soft, and the milk adds just enough moisture to prevent drying out even after days in the fridge. I learned this by accident when I made a batch for a bake sale and didn't eat them for five days—they were somehow better then than fresh, which felt like discovering a kitchen hack.
Customizing the Coating
The first batch I made, I used milk chocolate because it was what I had, and they were delicious. Then I tried dark chocolate and felt like I'd unlocked a completely different dessert—more sophisticated, less sweet, with a bitter edge that made the cookie dough taste richer. White chocolate works too, especially if you drizzle a contrasting dark chocolate over top. The coating is honestly where you can make these your own without changing the recipe at all.
Storage and Gifting
I store mine in an airtight container in the fridge, and they keep for a week easily, though they rarely last that long. For gifting, stack them in a cute box with parchment paper between layers and throw a ribbon on it; people will assume you spent hours on them, which is kind of the point. If you need them to travel, they're sturdy enough to survive a car ride or even being mailed, which is more than I can say for most homemade desserts.
- Truffles are best eaten within a week, but they'll keep up to 10 days in the fridge if sealed well.
- Transport them in a cool bag if you're going anywhere warm, or they might start to soften.
- If you need to mail them, pack them in a padded box with ice packs, and they should arrive in perfect condition.
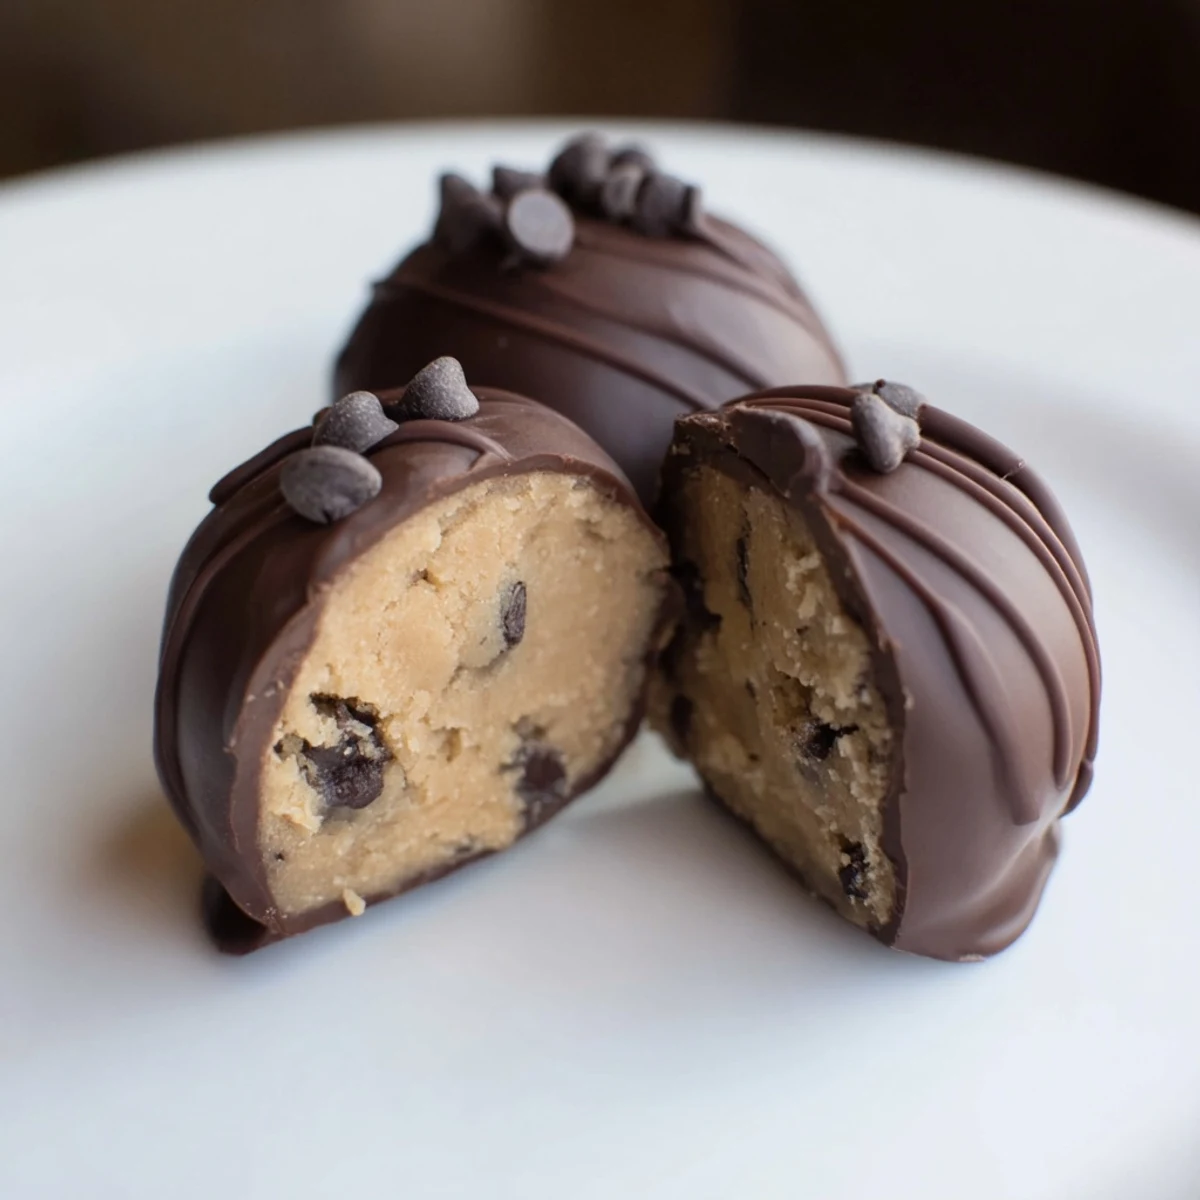 Pin it
 These truffles sit in that perfect space between 'ridiculously easy' and 'looks like you know what you're doing,' which is exactly where I like my desserts to be. Once you make them once, you'll understand why they're the thing I make when I want to feel like a good baker without actually having to bake.