 Pin it
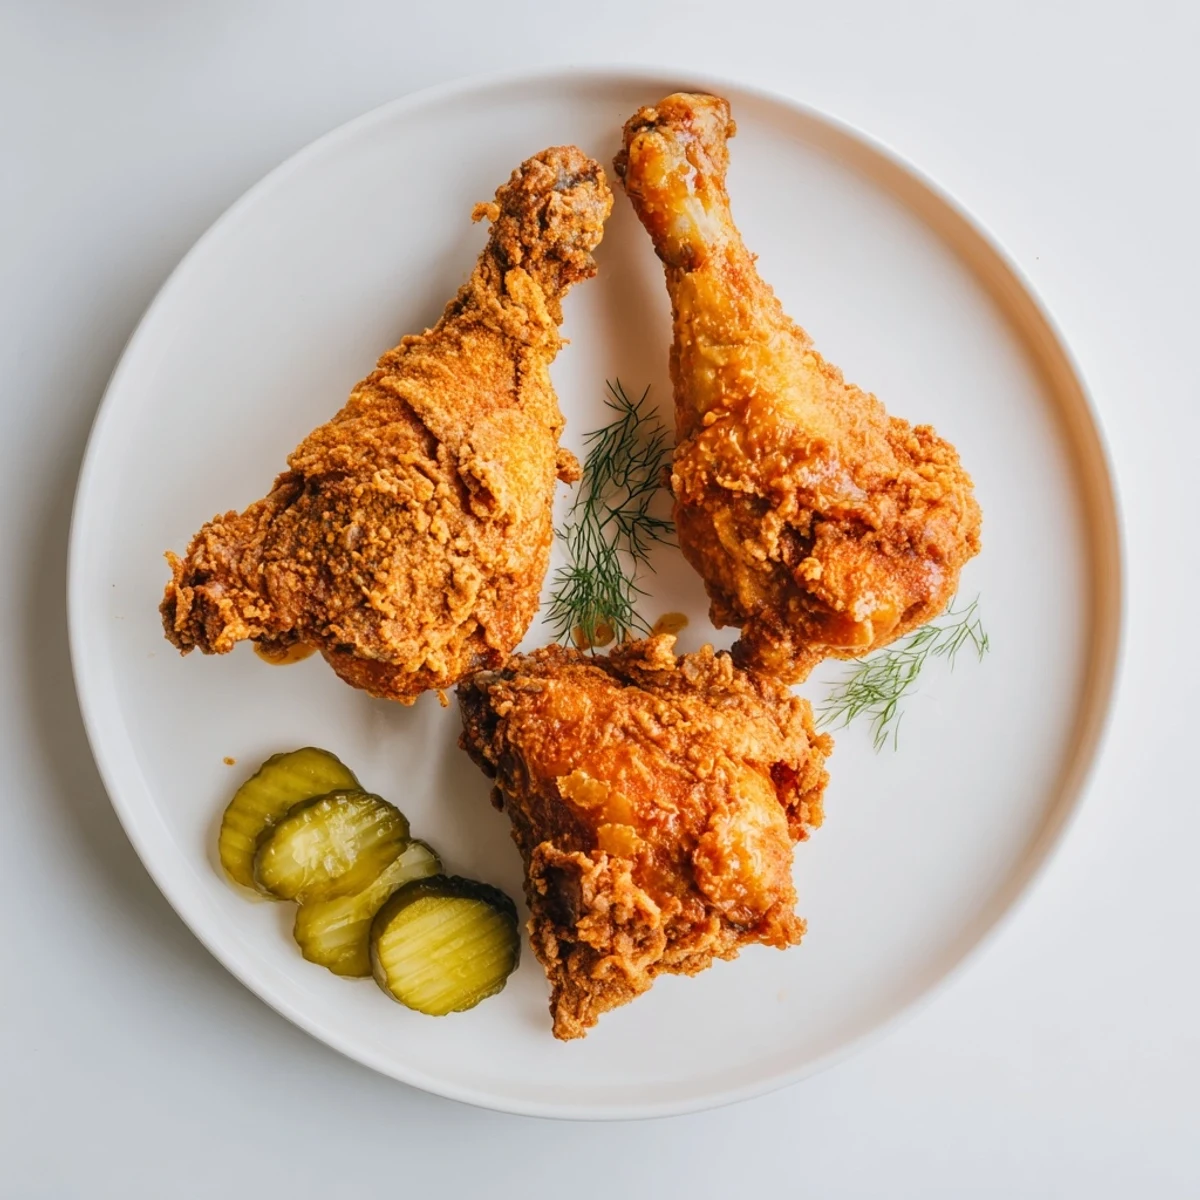
 This method yields juicy bone-in chicken with an ultra-crisp crust and a sticky sweet-heat finish. Begin with a buttermilk and hot-sauce soak to tenderize and season. Press a seasoned flour and cornstarch mix onto pieces, rest briefly, then fry at 350°F until golden and 165°F internally. Finish by tossing in melted butter, honey, and hot sauce, then serve immediately.
The sizzle of chicken hitting hot oil is one of those sounds that makes everyone wander into the kitchen, pretending they need a glass of water. My friend Marcus stood in the doorway last summer, spatula in hand from whatever he was supposed to be grilling outside, completely distracted by the smell of cayenne and honey caramelizing together. That batch never even made it to a plate. We stood around the stove, fingers burning, eating piece after piece straight from the paper towels.
I learned the double dip trick from a woman named Doreen at a church potluck in Tennessee. She grabbed my wrist mid dredge and said honey you gotta coat it twice if you want that crunch that sounds like thunder when you bite into it. She was absolutely right, and I think about her every single time I make this.
Ingredients
- 8 bone in, skin on chicken thighs or drumsticks: Skin on is non negotiable here because that crispy skin is what grabs the glaze and holds on tight.
- 1 cup buttermilk: This is your secret weapon for tenderizing, so do not skip the full two hour soak if you can help it.
- 1 teaspoon hot sauce (for marinade): Just enough to wake up the flavor without making it spicy before it even hits the fryer.
- 1 teaspoon sea salt and ½ teaspoon black pepper (for marinade): Seasoning the buttermilk ensures the salt penetrates deep into the meat.
- 1½ cups all purpose flour: The foundation of your coating, and you want plain flour so the spices can shine.
- ½ cup cornstarch: This is what gives you that light, shatteringly crisp texture that regular flour alone cannot achieve.
- 2 teaspoons paprika, 1 teaspoon garlic powder, 1 teaspoon onion powder, 1 teaspoon cayenne pepper, ½ teaspoon salt, ½ teaspoon black pepper (for coating): This spice blend is your flavor armor, so mix it well and taste a tiny pinch to check the heat level before dredging.
- Vegetable oil for frying: You need about two inches of oil in your pan, and vegetable oil has a neutral flavor and high smoke point that works perfectly.
- ⅓ cup unsalted butter: The butter carries the honey and heat in a way that oil never could, making the glaze rich and glossy.
- ¼ cup honey: Use a good quality honey if you can because its sweetness is the backbone of the whole glaze.
- 1 to 2 tablespoons hot sauce (for glaze): Start with one tablespoon, taste, and build from there because you can always add more but you cannot take it away.
- ¼ teaspoon crushed red pepper flakes and a pinch of salt (optional for glaze): These add a slow building warmth that lingers at the back of your throat.
Instructions
- The Buttermilk Bath:
- Whisk the buttermilk, hot sauce, salt, and pepper in a large bowl until combined, then submerge every piece of chicken and make sure it is fully coated. Cover and tuck it into the fridge for at least two hours, though overnight is even better if you can plan ahead.
- Building the Coating Station:
- In a wide bowl or deep plate, whisk together the flour, cornstarch, and all those beautiful spices until the color is even throughout. Give it a sniff because it should smell warm and toasty and slightly dangerous.
- The Dredge:
- Shake off the excess buttermilk from each piece of chicken and press it firmly into the flour mixture on all sides, really packing it on with your hands. Set each coated piece on a wire rack and let them rest for ten minutes so the coating can bond to the chicken like it means it.
- Heating the Oil:
- Pour two inches of vegetable oil into a heavy skillet or deep fryer and bring it up to 350 degrees Fahrenheit over medium heat. Drop in a tiny pinch of flour to test it, and if it sizzles immediately and floats, you are ready to go.
- Frying to Golden Glory:
- Lower the chicken into the oil in batches so the pan is not crowded, turning occasionally with tongs, and fry for twelve to fifteen minutes until the outside is a deep amber brown and the internal temperature hits 165 degrees Fahrenheit. Let the pieces drain on paper towels while you finish the rest.
- Making the Glaze:
- While the chicken is frying, melt the butter in a small saucepan over medium heat and stir in the honey, hot sauce, red pepper flakes, and salt until everything is bubbling and fragrant. Let it simmer for just one minute so the flavors marry, then pull it off the heat.
- The Grand Finale:
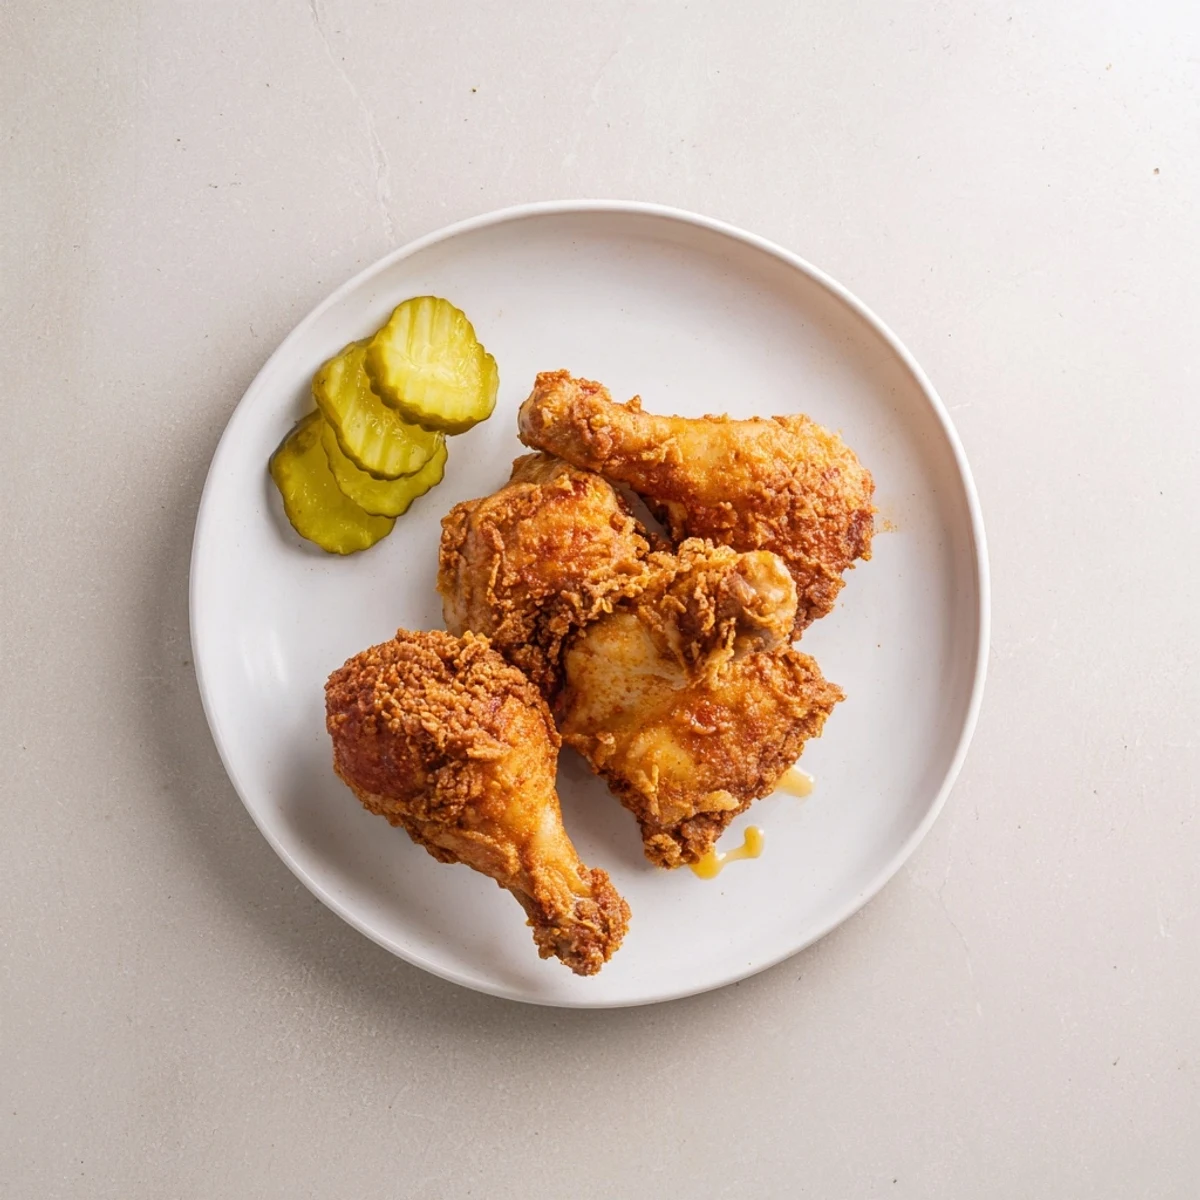
- Drizzle the warm glaze generously over the drained chicken or toss the pieces in a large bowl until every surface is coated in that sticky, spicy, buttery sauce. Serve immediately because this is best when the crunch is still loud and the glaze is still warm.
 Pin it
 The night I made this for my sisters birthday, she sat on the kitchen counter in her nice dress, glaze on her chin, declaring it the best thing I had ever cooked. The rest of the guests gave up on plates entirely and we went through an entire roll of paper towels. Sometimes the messiest meals are the ones people remember most.
Getting That Crunch Right
Cornstarch is the ingredient that changed my fried chicken forever, and I wish someone had told me about it sooner. It weakens the gluten structure in the flour so the coating becomes light and brittle instead of bread like. The first time I used it, I actually tapped a piece of chicken against the edge of a plate just to hear the sound it made.
Handling the Heat
The beauty of this recipe is that you control every layer of spice, from the marinade all the way to the glaze. I once made the mistake of going heavy on cayenne before a dinner with my parents, who think black pepper is adventurous. Now I keep a little bowl of extra hot sauce on the side so everyone can doctor their own piece.
Serving and Storing
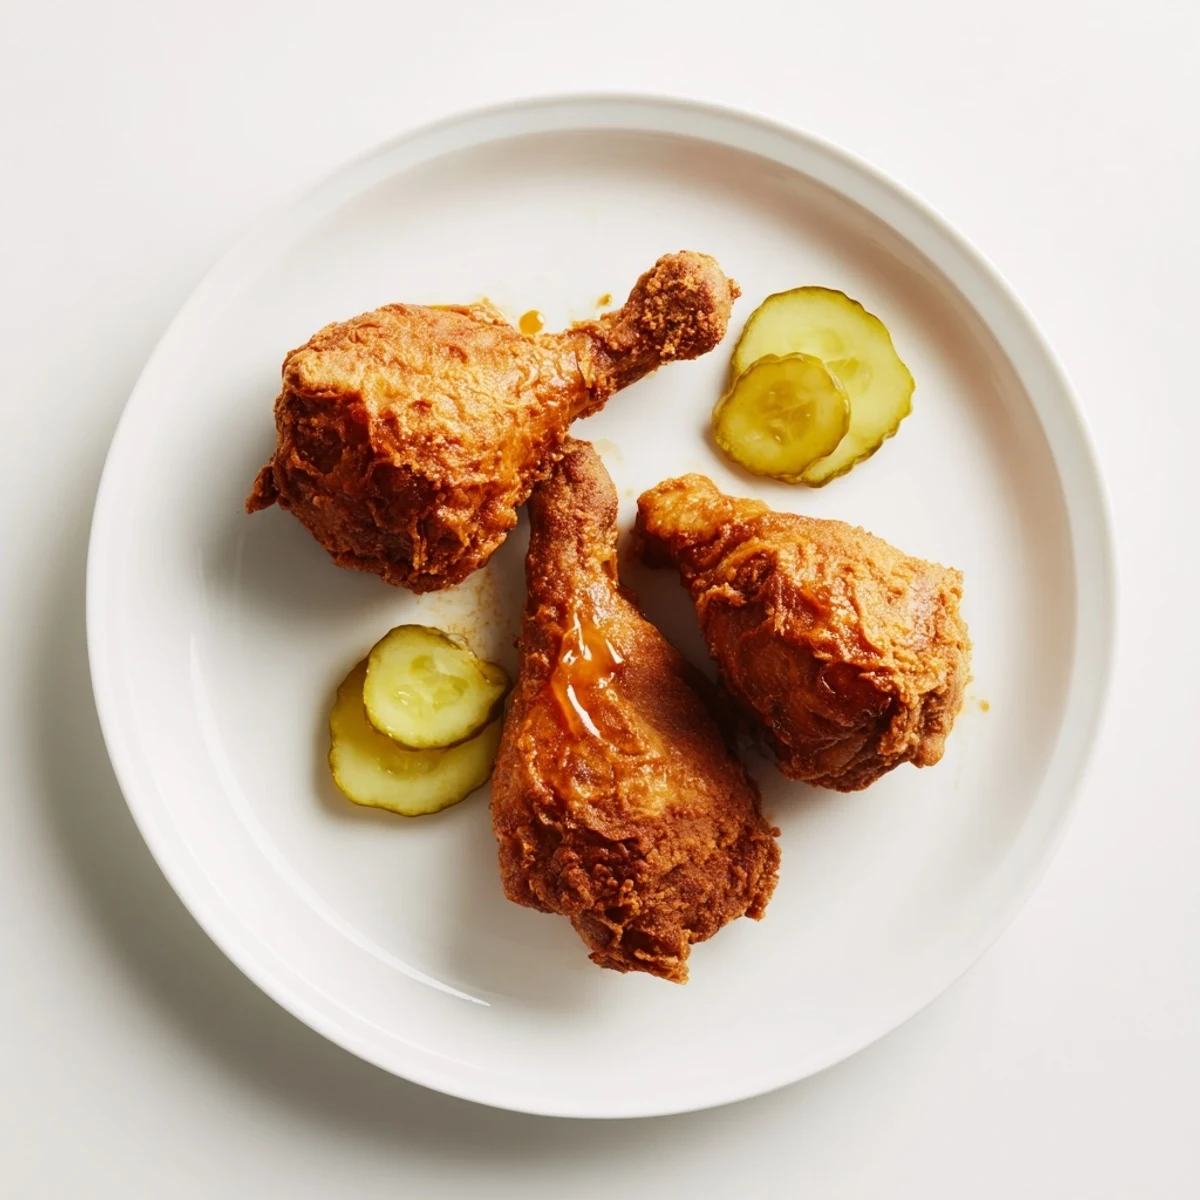
This chicken is at its absolute best in the first fifteen minutes after glazing, when the contrast between the crispy coating and the sticky sauce is at its peak. If you need to make it ahead, fry the chicken and keep it warm in a low oven, then glaze right before serving so nothing gets soggy.
- Reheat leftovers in a 375 degree Fahrenheit oven for about ten minutes to bring back some of the crunch.
- Air frying works surprisingly well for reheating if you have one.
- Never microwave glazed chicken unless you enjoy sadness and rubber.
 Pin it
 There is something deeply satisfying about making fried chicken from scratch, the kind of satisfaction that makes you stand in the kitchen afterward with a cup of coffee, surveying the happy wreckage. This recipe earns every minute it takes.
Common Recipe Questions
- → How long should the chicken marinate?
-
Marinate a minimum of 2 hours for noticeable tenderizing and flavor; overnight gives the best depth and juiciness, especially for bone-in pieces.
- → How do I get an extra-crispy crust?
-
Use a flour-cornstarch blend, press it firmly onto the damp chicken, let pieces rest on a rack for 10 minutes, and fry at a steady 350°F to set the crust without overbrowning.
- → How can I control the heat level?
-
Adjust cayenne and hot sauce amounts in the dredge and glaze. Reduce cayenne and start with 1 tablespoon of hot sauce in the glaze, then add more to taste.
- → Will the honey in the glaze burn while frying?
-
Honey can burn at high heat, so melt butter and stir in honey off the heat or over low-medium heat and simmer briefly. Toss the fully fried chicken in the warm glaze rather than cooking the honey at high temperatures.
- → Can I bake the chicken instead of frying?
-
Bake at a high temperature on a rack (425°F) for a crisp finish, or par-fry then finish in the oven. Baking yields less fat but may need a double-dip and light oil spray for comparable crunch.
- → How should leftovers be stored and reheated?
-
Refrigerate cooled pieces in an airtight container up to 3 days. Reheat in a 375°F oven on a rack to restore crispness, about 10–15 minutes, checking internal temperature reaches 165°F.