 Pin it
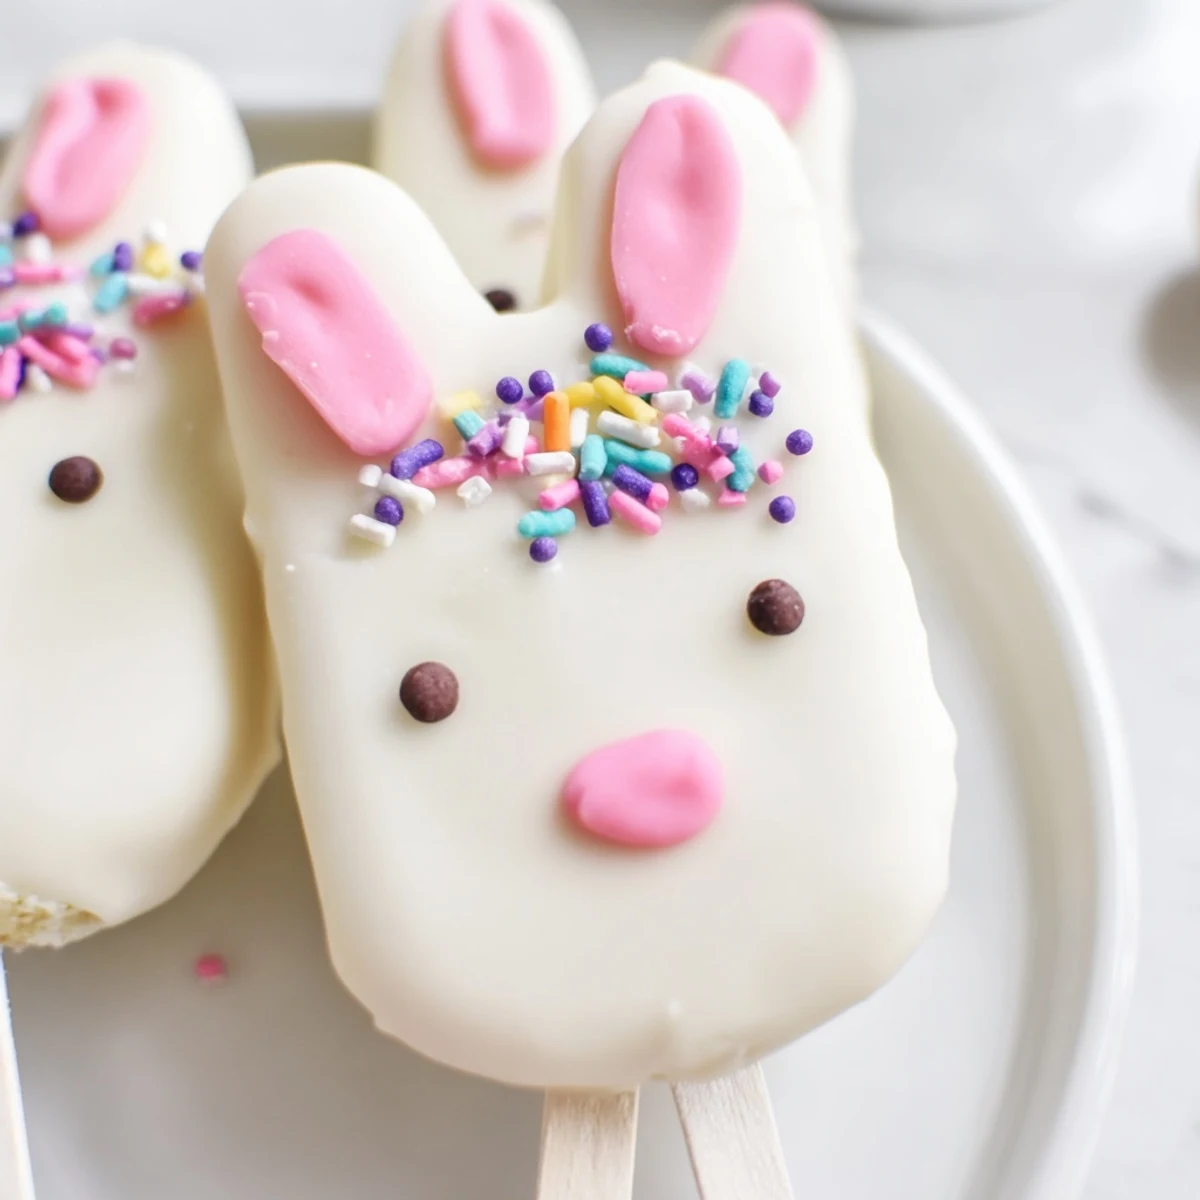
 These charming bunny cakesicles combine crumbled vanilla cake with cream cheese and butter, shaped into adorable faces and dipped in smooth white chocolate. Ready in just one hour, they make 8 delightful treats perfect for Easter entertaining.
The process involves mixing cake crumbs with a creamy binder, shaping them into bunny faces, inserting sticks, and coating in melted white chocolate. Decorate with candy eyes, sprinkles, or fondant ears to bring these festive sweets to life.
Store in the refrigerator for up to three days, making them ideal for preparing ahead of your celebration. The vegetarian-friendly treats offer a fun alternative to traditional Easter desserts.
The kitchen was already covered in powdered sugar when my daughter announced she wanted bunny-shaped Easter treats. We'd attempted cake pops the year before and ended up with cake balls on forks, so these cakesicles felt like our redemption arc. Something about the stick makes everything feel more festive and manageable.
Last Easter my niece accidentally made her bunny with three eyes and refused to let me fix it. That three-eyed bunny became the most talked-about treat at the family gathering, and now it's tradition that someone has to make a quirky one. These little treats have a way of becoming memories before anyone even takes a bite.
Ingredients
- Vanilla cake crumbs: Use leftover cake or bake specifically for this, but dont obsess over perfect crumbs
- Cream cheese: Room temperature is non-negotiable or youll get lumps that refuse to blend
- Unsalted butter: Softened butter helps create that perfect dough-like texture that holds its shape
- Powdered sugar: This sweetens the filling while helping everything bind together beautifully
- White chocolate: Candy melts are easier for beginners but real white chocolate tastes infinitely better
- Cakesicle sticks: Paper ones can get soggy so spring for the proper food-safe sticks
Instructions
- Mix your cake base:
- Combine cake crumbs, cream cheese, butter, powdered sugar, and vanilla until you can squeeze it into a ball that holds its shape without crumbling apart
- Shape your bunnies:
- Form 8 flattened oval shapes and gently press sticks into each one, then refrigerate until firm so they dont fall apart during dipping
- Melt the chocolate:
- Heat white chocolate in 30-second bursts, stirring between each, until you have silky smooth liquid that coats a spoon evenly
- Dip and decorate:
- Dip each cakesicle into chocolate, tap off excess gently, and immediately add decorations before the coating sets
 Pin it
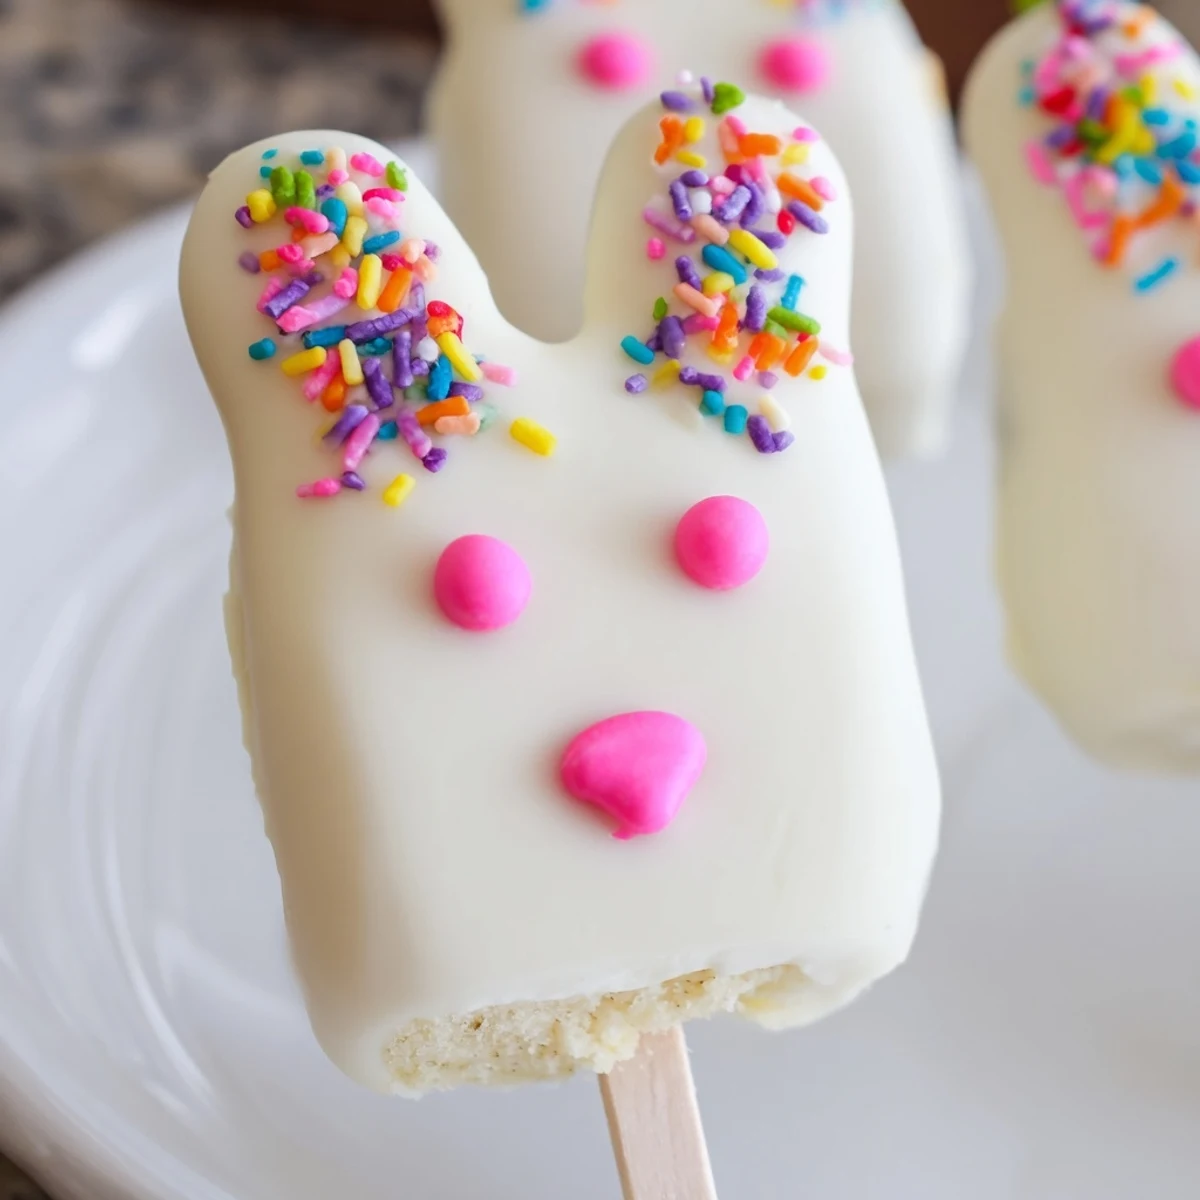
 My kitchen counter looked like a confetti explosion after the sprinkles incident, but watching everyone pick their favorite bunny from the tray made every sparkle worth sweeping up later.
Making Them Your Own
Try chocolate cake with dark chocolate coating, or lemon cake with white chocolate and pastel sprinkles. The marbled effect happens when you swirl food coloring through melted white chocolate right before dipping.
Storage Solutions
These keep beautifully in the fridge for up to three days, though they rarely last that long in my house. Layer them between parchment paper so they dont stick together.
Decoration Ideas That Work
Fondant ears look impressive but pretzel sticks dipped in pink chocolate are easier and taste better. Candy eyes attach instantly to wet chocolate while sprinkles need to be added before anything sets.
- Work quickly once the chocolate is melted or itll start getting thick and uneven
- Have all decorations opened and ready before you start dipping anything
- Set up a decorating station with paper towels for inevitable drips and spills
 Pin it
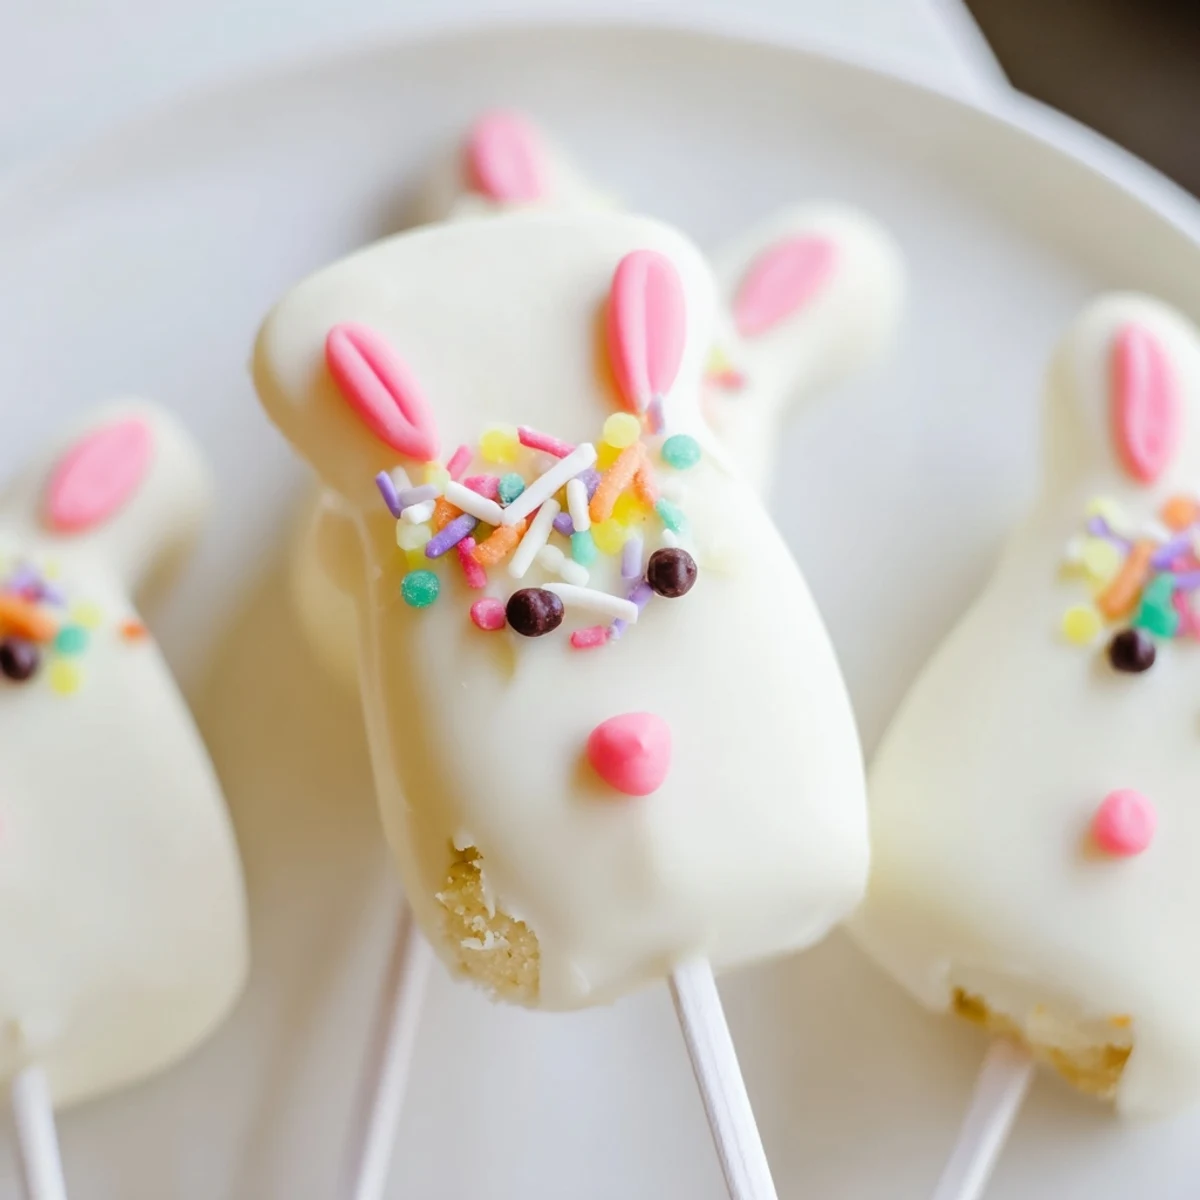
 There's something magical about how a simple stick transforms cake pops into party treats. Happy Easter, and may your bunnies be adorable even if they end up with three eyes.
Common Recipe Questions
- → How long do these bunny treats stay fresh?
-
Store your cakesicles in an airtight container in the refrigerator for up to 3 days. The chilled environment keeps the white chocolate coating firm and the cake interior moist.
- → Can I use different cake flavors?
-
Absolutely! Chocolate, lemon, red velvet, or carrot cake work wonderfully. Choose flavors that complement white chocolate, or experiment with dark chocolate coating for different taste combinations.
- → Do I need special molds for shaping?
-
While cakesicle molds help create uniform shapes, they're not essential. You can hand-shape the mixture into flattened ovals or bunny faces using your hands, then insert the sticks before chilling.
- → What's the best way to melt the coating?
-
Melt white chocolate in a microwave-safe bowl using 30-second intervals, stirring between each burst. This gradual heating prevents scorching and ensures a smooth, dippable consistency.
- → Can I make these ahead for a party?
-
Yes! Prepare the treats up to 3 days in advance and refrigerate. The coating sets beautifully and the flavors develop over time. Add final decorations like food coloring details just before serving.
- → What alternatives work for bunny ear decorations?
-
Fondant shapes, modeling chocolate, pretzel sticks, or even candy melts piped into ear shapes all create adorable bunny ears. Choose based on your decorating comfort level and available ingredients.