Pin it
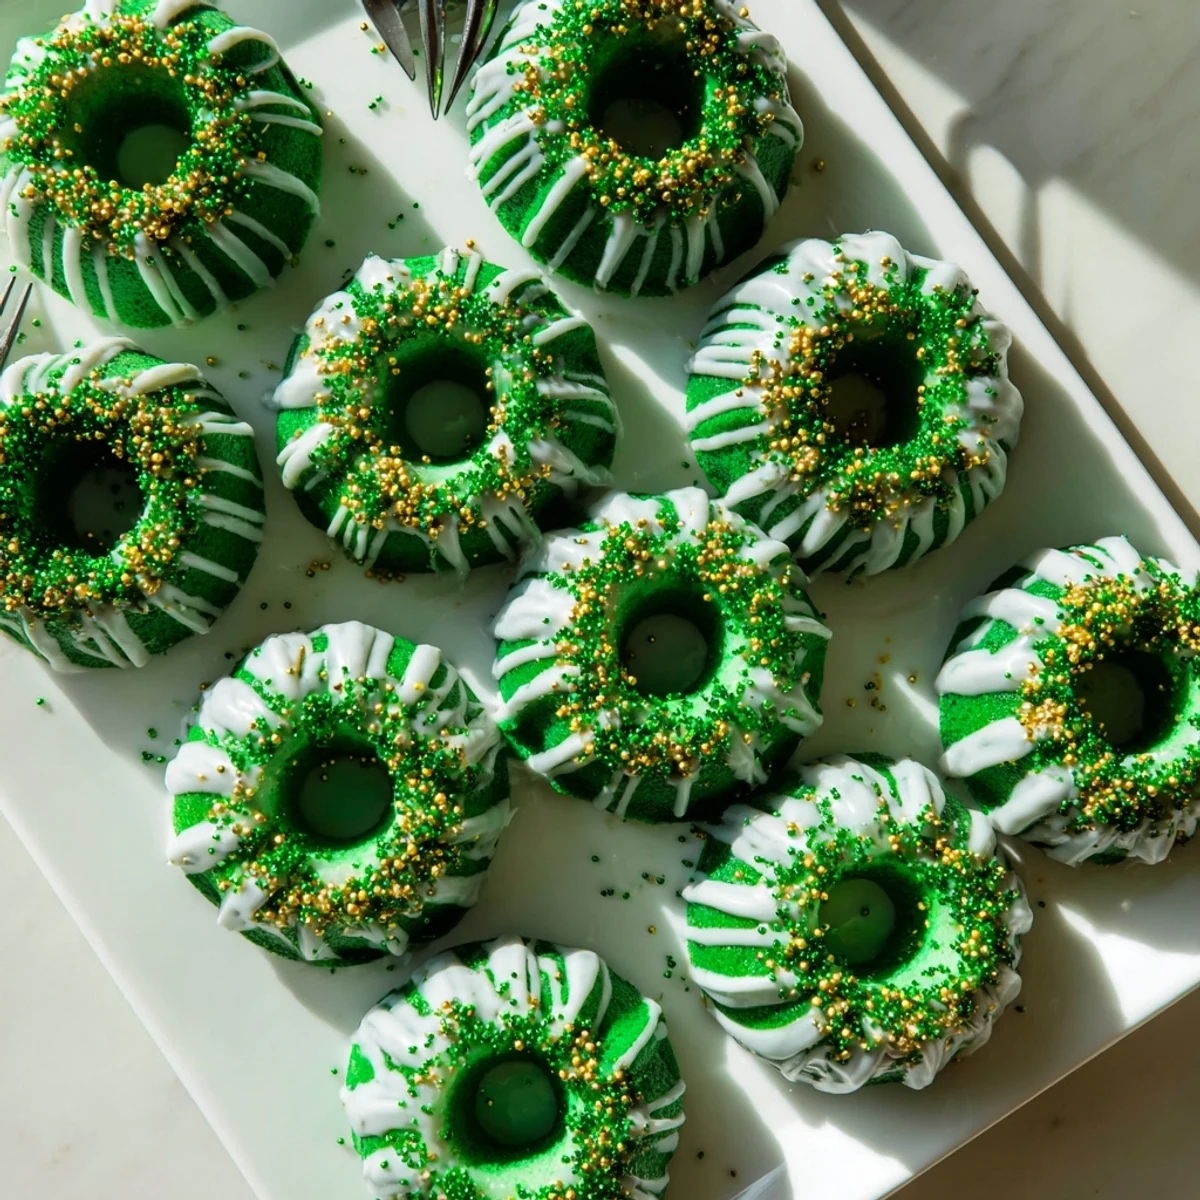
 These stunning green velvet mini bundt cakes combine the classic red velvet texture with vibrant festive color. The batter features unsweetened cocoa powder for that signature subtle chocolate undertone, while buttermilk and vinegar ensure irresistibly moist crumb. A quick 20-minute bake yields perfectly portioned treats.
The creamy vanilla glaze drapes beautifully over each cake, creating that irresistible sweet finish. Green and gold sprinkles add festive flair. With just 45 minutes total time and simple pantry ingredients, you can create impressive St. Patricks Day desserts that taste as amazing as they look.
The first time I made green velvet cake, my kitchen looked like a St. Patrick's Day explosion. There was green batter on my nose, speckles on the counter, and my cat was giving me suspicious looks from his perch by the window. But when those mini bundts came out of the oven, perfectly domed and smelling faintly of chocolate and vanilla, I knew the mess was worth every minute.
Last March, I brought a platter of these to my book club meeting and watched three different people ask for the recipe before they even finished their first cake. Something about that vibrant green against the creamy white glaze just makes people happy, like little edible pots of gold.
Ingredients
- All-purpose flour: The backbone of the cake structure, providing just enough protein for a tender crumb
- Unsweetened cocoa powder: Adds that mysterious depth of flavor without overpowering the delicate vanilla
- Baking soda: Essential for the rise, especially with the acidic buttermilk and vinegar
- Salt: A pinch that balances sweetness and enhances all other flavors
- Unsalted butter: Room temperature butter creates the perfect airy base when creamed with sugar
- Granulated sugar: Sweetens and tenderizes while helping create that beautiful velvety texture
- Large eggs: Bind everything together while adding richness and structure
- Buttermilk: The secret ingredient for moisture and tender crumb, plus activates the baking soda
- Vanilla extract: Pure vanilla adds that comforting, familiar flavor everyone loves
- White vinegar: Enhances the red velvet reaction and deepens that signature green color
- Green gel food coloring: Gel coloring provides vibrant color without thinning the batter
- Powdered sugar: Creates the smooth, pourable glaze that drips beautifully down the ridges
- Milk: Adjust the amount to reach your perfect glaze consistency
- Sprinkles: The festive finishing touch that makes these undeniably St. Patrick's Day worthy
Instructions
- Get your oven ready:
- Preheat to 350°F and generously grease every nook and cranny of your mini bundt pan, because these beauties need to release perfectly
- Whisk the dry team:
- In a medium bowl, combine flour, cocoa powder, baking soda, and salt until well incorporated
- Cream butter and sugar:
- Beat them together for a full 3 minutes until the mixture looks pale and fluffy, trapping tiny air bubbles
- Add the eggs:
- Drop them in one at a time, letting each disappear completely before adding the next
- Mix your green liquid:
- Combine buttermilk, vanilla, vinegar, and food coloring in a small bowl until the color is uniform
- Bring it all together:
- Add half the dry ingredients, then pour in the green buttermilk mixture, followed by remaining dry ingredients, mixing just until smooth
- Fill the pans:
- Spoon batter into each mini bundt cavity about two thirds full, giving them room to rise without overflowing
- Bake to perfection:
- Slide into the oven for 18 to 22 minutes until a toothpick comes out clean and the tops spring back lightly
- Cool with care:
- Let them rest in the pan for exactly 10 minutes before inverting, so they set but stay incredibly moist
- Make the magic glaze:
- Whisk powdered sugar with milk and vanilla until it reaches a thick, pourable consistency
- Finish with flair:
- Drizzle glaze generously over cooled cakes and add sprinkles while it's still wet so they stick
 Pin it
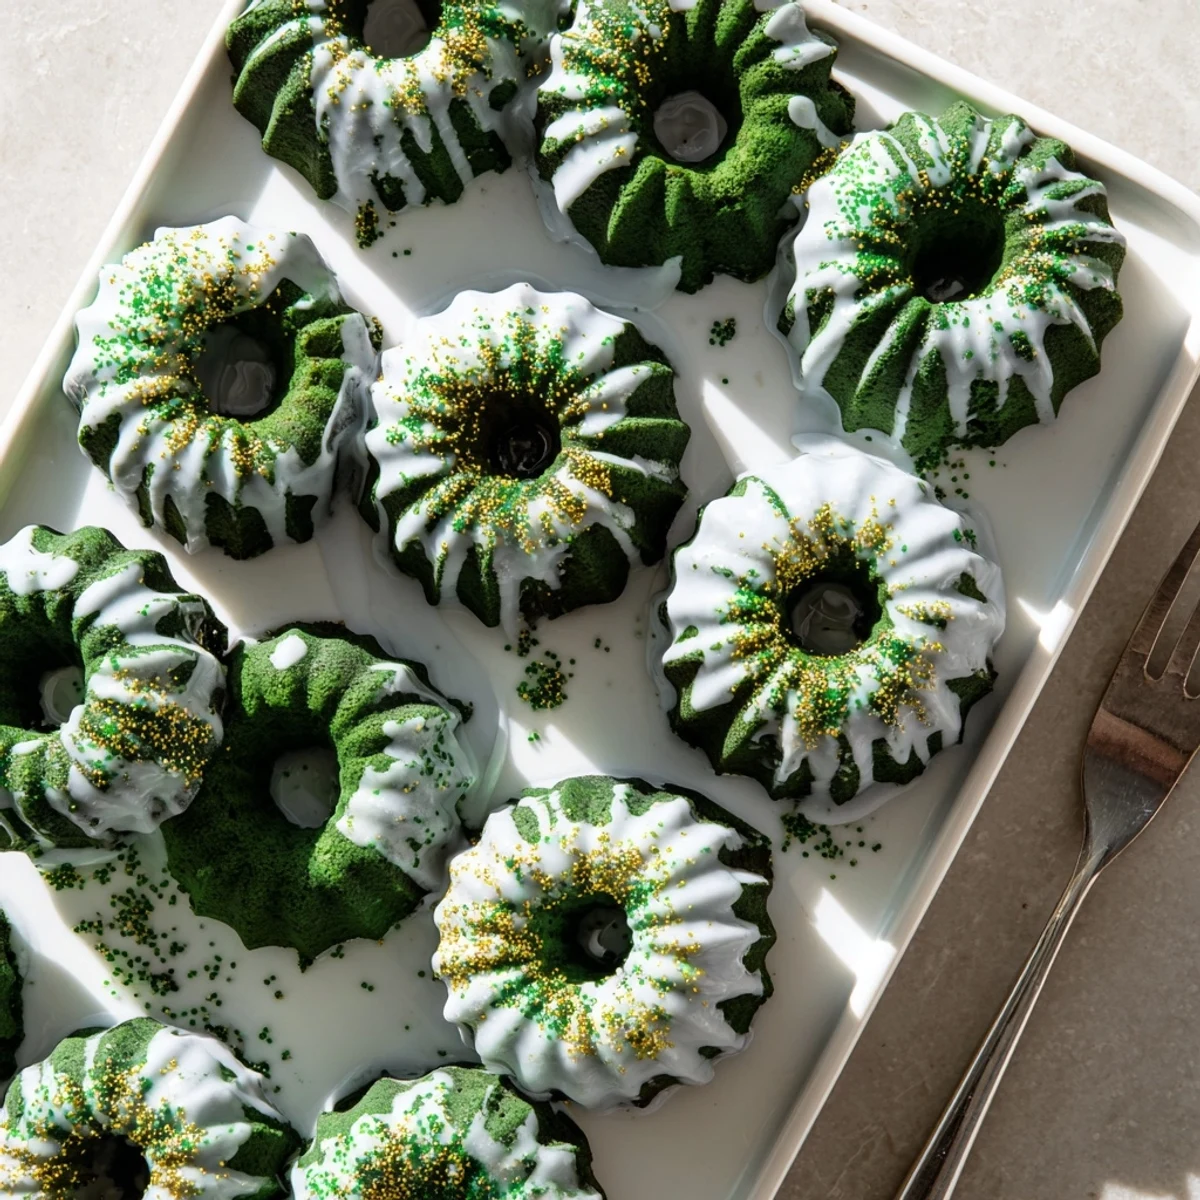
 My daughter now requests these for every school event in March, and I've started doubling the batch just to keep up. There's something magical about watching kids' eyes light up when they see that bright green cake, like dessert just became an adventure.
Getting The Perfect Green Shade
I've learned that adding gel coloring drop by drop while mixing the liquid ingredients gives you the most control over the final shade. Start with half a tablespoon and keep adding until you reach that lucky Irish green you're after.
Making Them Ahead
These mini bundts freeze beautifully before glazing. Wrap each cooled cake individually in plastic wrap, then freeze for up to a month. Thaw overnight in the refrigerator and glaze fresh the day you need them.
Glaze Like A Pro
The glaze consistency should be thick enough to coat a spoon but thin enough to pour in a steady stream. If it's too thick, add milk one teaspoon at a time. Too thin, whisk in more powdered sugar.
- Let the glaze set for about 15 minutes before serving
- Warm glaze slightly for a thinner, more dramatic drizzle
- Add the glaze over a wire rack to catch the excess
 Pin it
 These little green cakes have become my go to for bringing luck to any gathering. May your St. Patrick's Day be filled with sweet moments and even sweeter treats.
Common Recipe Questions
- → What gives these cakes their green color?
-
Green gel food coloring creates the vibrant hue. Start with ½ tablespoon and add more until you reach your desired shade. Gel coloring provides deeper, more intense color than liquid alternatives.
- → Can I make these ahead of time?
-
Yes! Bake the cakes up to 2 days ahead and store in an airtight container. Wait to glaze until the day you serve them for the freshest appearance. The unglazed cakes actually stay moist longer.
- → Why add cocoa powder if they're green velvet?
-
The small amount of unsweetened cocoa powder provides that classic velvet texture and subtle chocolate flavor that defines velvet cakes. It doesn't affect the green color but creates the signature tender crumb.
- → What's the purpose of vinegar in the batter?
-
White vinegar reacts with baking soda to help the cakes rise and creates that characteristic velvet texture. It also enhances the green color, making it appear more vibrant. You won't taste the vinegar in the finished treat.
- → Can I use regular cake pans instead of mini bundt?
-
Absolutely! You can use a standard bundt pan for one large cake, or distribute the batter among cupcake tins. Adjust baking time accordingly—large bundt needs 35-40 minutes, cupcakes need 15-18 minutes.
- → How do I get the perfect glaze consistency?
-
Start with 2 tablespoons of milk and whisk until smooth. The glaze should flow slowly from your whisk—too thick and it won't drape properly, too thin and it will run off entirely. Add more milk a teaspoon at a time to reach the right consistency.