 Pin it
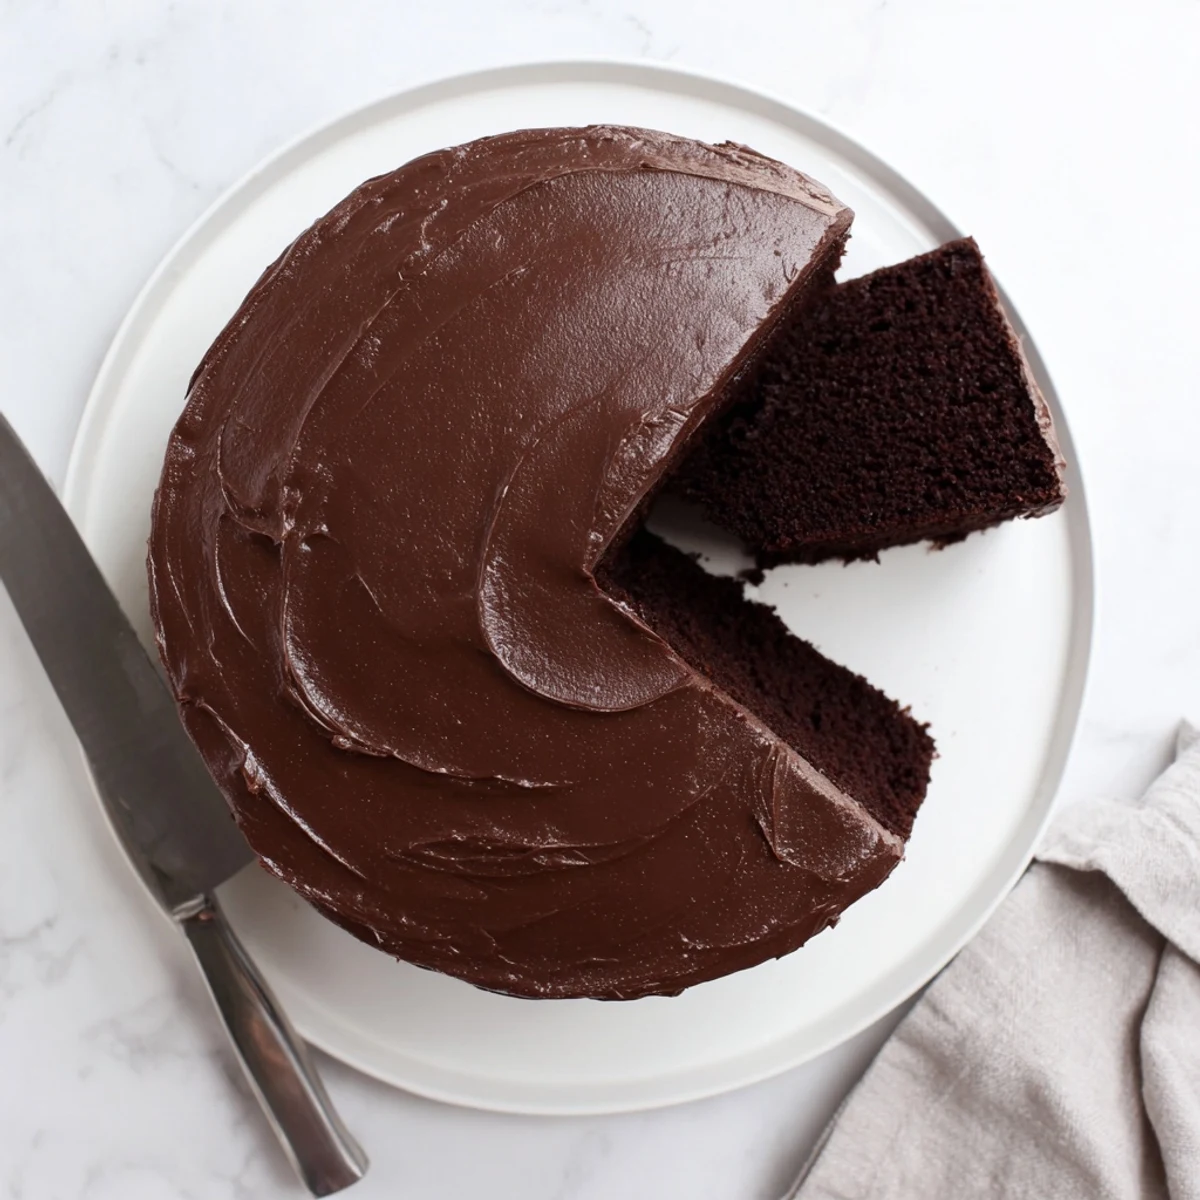
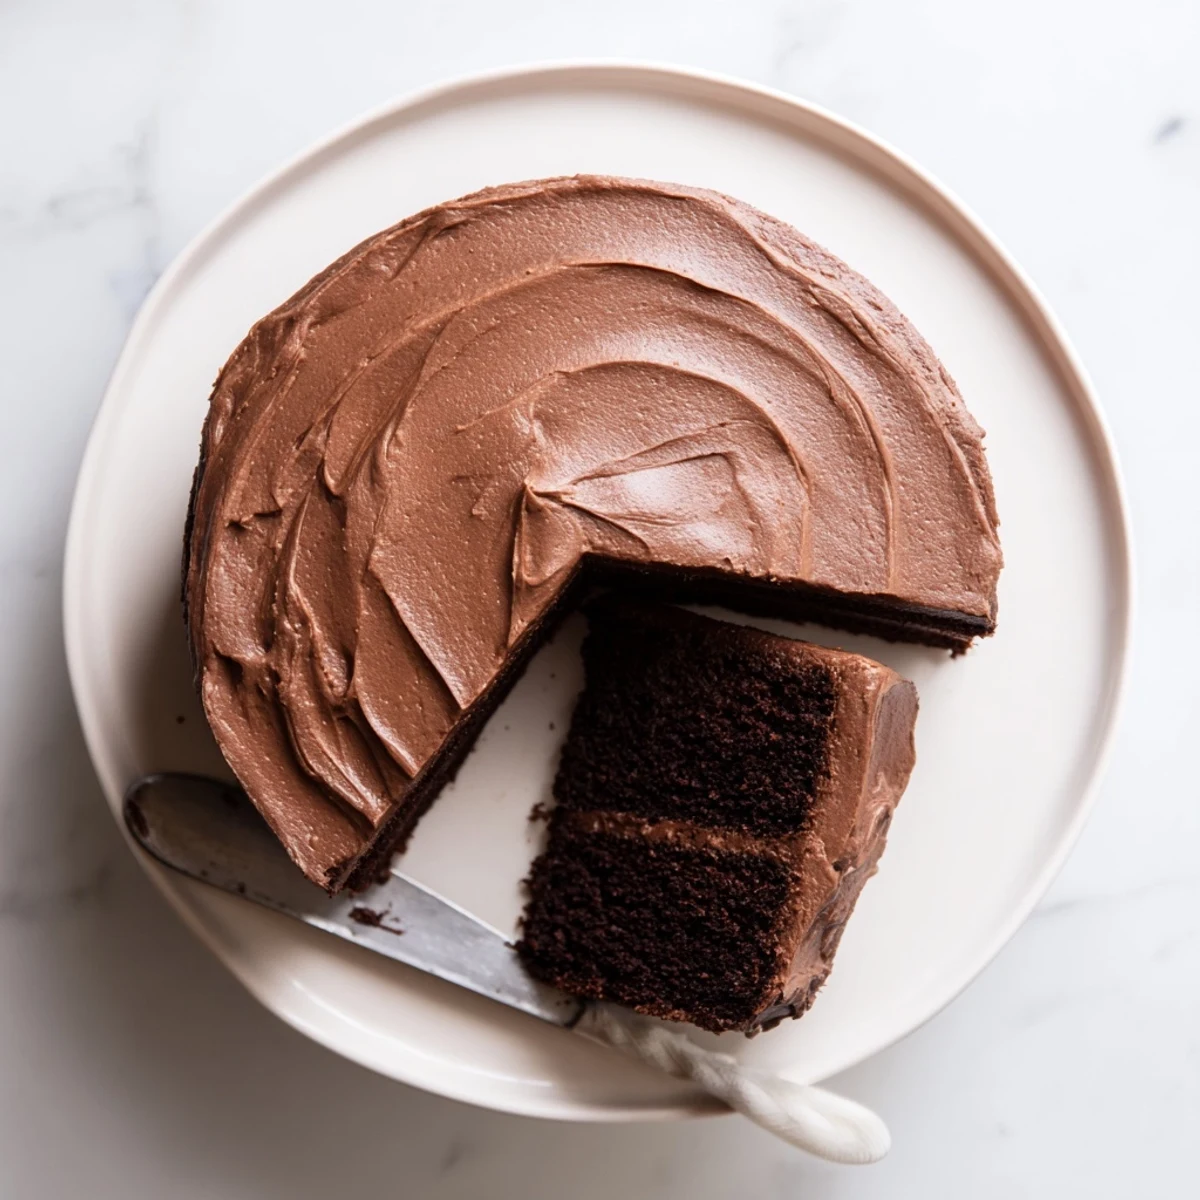
 This decadent chocolate cake features incredibly moist layers made with cocoa powder and a unique boiling water technique that intensifies the chocolate flavor. The silky chocolate frosting balances sweetness with rich cocoa notes, creating a luxurious dessert perfect for birthdays, holidays, or satisfying intense chocolate cravings. Each serving delivers 480 calories of pure indulgence with a tender crumb that stays fresh for days.
The rain was absolutely pouring outside my apartment window when I decided to bake this cake for the first time. Something about dreary weather just demands chocolate, doesn't it? I ended up bringing half of it over to my neighbor who had just had surgery, and she texted me three days later asking if I had a secret ingredient because she couldn't stop thinking about it.
Last summer I made this for my niece's birthday, and she actually asked if she could have the recipe framed. Watching her face light up when she saw those two dark chocolate layers coming out of the box was worth every minute of prep time.
Ingredients
- 2 cups all-purpose flour: Sifting this first prevents lumps and creates the tender crumb texture
- 2 cups granulated sugar: This amount provides just the right sweetness without overwhelming the chocolate
- 3/4 cup unsweetened cocoa powder: Use a high quality brand here since its the star flavor
- 2 teaspoons baking powder: Works with baking soda to give the cake its rise
- 1.5 teaspoons baking soda: Ensures the cake stays light despite all the moisture
- 1 teaspoon salt: Crucial for enhancing chocolate flavor
- 1 cup whole milk: Room temperature ingredients blend together more evenly
- 1/2 cup vegetable oil: Keeps the cake moist far longer than butter alone
- 2 large eggs: Room temperature eggs create better structure in the batter
- 2 teaspoons pure vanilla extract: Adds depth and rounds out the chocolate notes
- 1 cup boiling water: This secret ingredient blooms the cocoa and creates incredible moisture
- 1 cup unsalted butter: Must be softened to room temperature for smooth frosting
- 3.5 cups powdered sugar: Sifting prevents grainy frosting texture
- 3/4 cup unsweetened cocoa powder: Sift with powdered sugar for the silkiest results
- 1/2 teaspoon salt: A little salt in frosting keeps it from being cloyingly sweet
- 2 teaspoons pure vanilla extract: Essential for balancing all that chocolate
- 1/4 cup whole milk: Adjust up to a tablespoon more if frosting feels too stiff
Instructions
- Prep your pans and oven:
- Set your oven to 350°F and generously grease two 9 inch round pans with butter, then dust with flour. Cut parchment circles for the bottoms to guarantee your layers will release perfectly every time.
- Combine the dry ingredients:
- Sift flour, sugar, cocoa powder, baking powder, baking soda, and salt into a large bowl. Whisk them together thoroughly so no clumps of cocoa remain.
- Add the wet ingredients:
- Pour in the milk, vegetable oil, eggs, and vanilla extract. Beat on medium speed for about two minutes until the batter looks smooth and well combined.
- Stir in the boiling water:
- Reduce mixer speed to low and slowly pour in the boiling water. The batter will look very thin and watery but this is exactly what creates that moist crumb.
- Bake the layers:
- Divide batter evenly between your prepared pans and bake for 30 to 35 minutes. A toothpick inserted in the center should come out clean with just a few moist crumbs.
- Cool completely:
- Let the cakes rest in their pans for 10 minutes, then carefully turn them onto a wire rack. Wait until they're completely cool before frosting or you'll have a melty mess.
- Make the frosting:
- Beat softened butter until creamy, then gradually add powdered sugar, cocoa powder, and salt on low speed. Mix in vanilla and milk, then beat on high for about two minutes until fluffy.
- Assemble your cake:
- Place one cooled layer on your serving plate and spread a generous layer of frosting. Top with the second layer and frost the top and sides smoothly.
 Pin it
 My father in law still talks about the time I brought this cake to Thanksgiving dessert. He's not even a huge chocolate person but went back for a second slice before anyone else had finished their first.
Making It In Advance
I've learned through experience that the cake layers actually freeze beautifully for up to three months if wrapped tightly in plastic and then foil. Thaw them overnight in the refrigerator before frosting, which means you can do the baking days ahead and just focus on decorating the day of your event.
Flavor Variations
Adding a teaspoon of instant espresso powder to the batter deepens the chocolate flavor without making it taste like coffee. Sometimes I'll swap half the boiling water for hot brewed coffee, and the difference is remarkable.
Frosting Like A Pro
After applying a thin crumb coat of frosting, refrigerate the cake for 30 minutes before adding the final layer. This simple step locks in any loose crumbs and gives you that perfectly smooth professional looking finish.
- Use an offset spatula warmed under hot water for the smoothest frosting application
- Press chopped chocolate or sprinkles into the sides immediately after frosting
- Let the finished cake set at room temperature for at least an hour before slicing
 Pin it
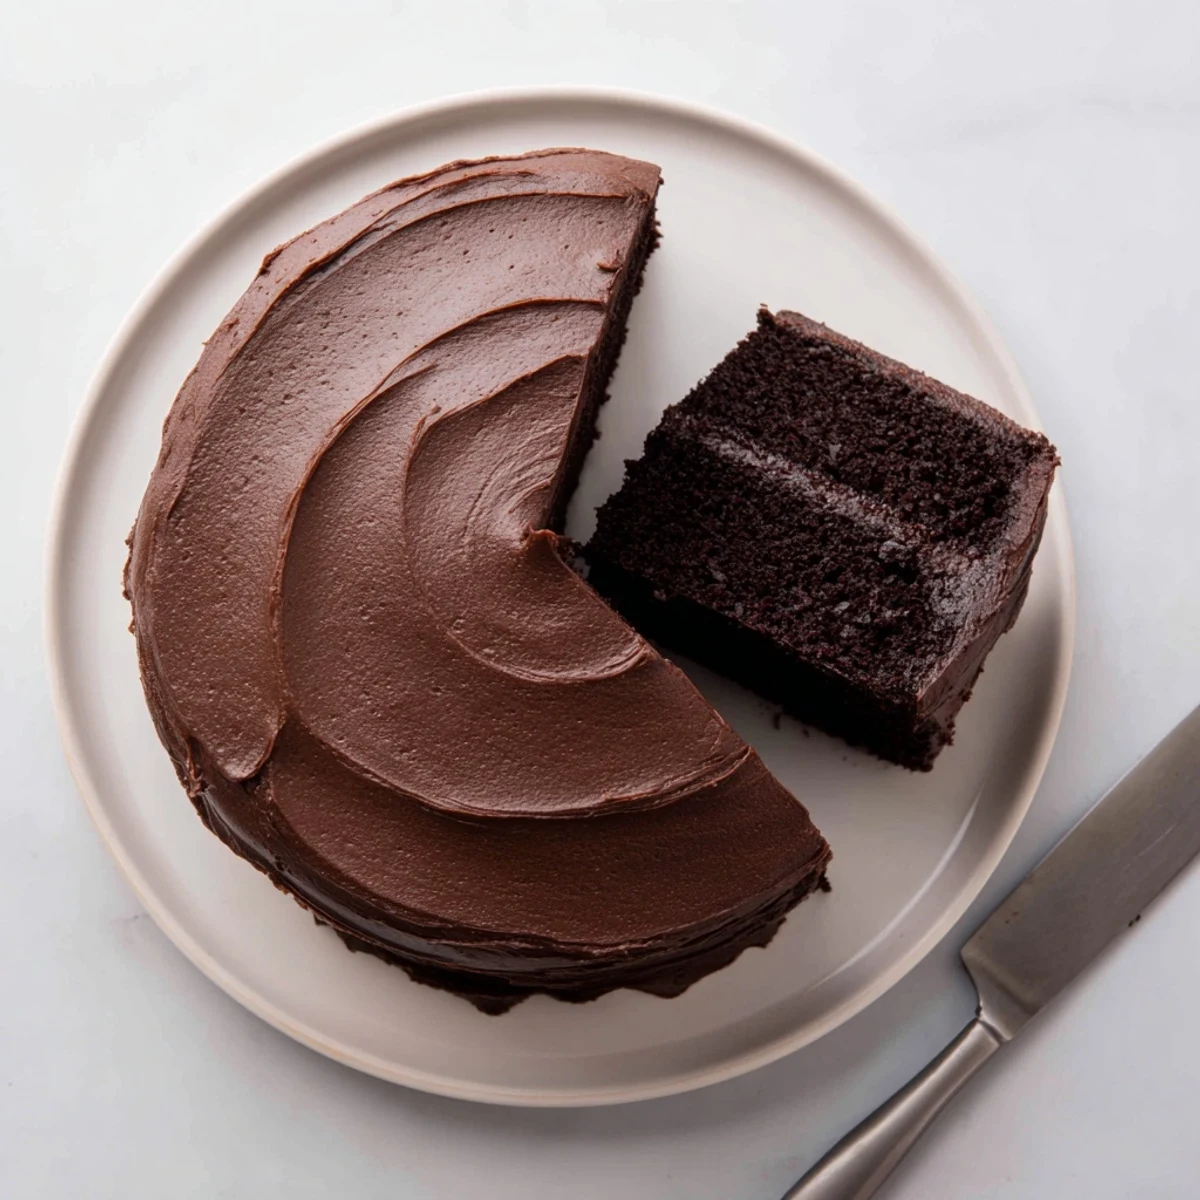
 There's something deeply satisfying about slicing into that first piece and seeing those perfect dark layers. Hope this recipe brings as much joy to your kitchen as it has to mine.
Common Recipe Questions
- → What makes this cake so moist?
-
The combination of boiling water added to the batter creates a thin consistency that bakes into an incredibly moist crumb. The liquid hydrates the flour and cocoa completely, preventing dryness while intensifying the chocolate flavor.
- → Can I make this cake in advance?
-
Yes, the unfrosted layers can be wrapped tightly and stored at room temperature for up to 2 days or frozen for up to 3 months. Thaw frozen layers overnight before frosting. The frosted cake keeps well refrigerated for 3-4 days.
- → How do I prevent the cake from sticking to the pans?
-
Thoroughly grease the pans with butter or oil, dust with flour, and line the bottoms with parchment paper. Allow cakes to cool in the pans for exactly 10 minutes before turning them onto a wire rack—this helps them release cleanly.
- → What type of cocoa powder works best?
-
Natural unsweetened cocoa powder delivers the most intense chocolate flavor. Dutch-processed cocoa can be substituted for a slightly darker color and milder taste, but avoid sweetened drinking chocolate mixes.
- → Can I make this cake gluten-free?
-
Yes, substitute the all-purpose flour with a high-quality gluten-free flour blend designed for baking. The texture will remain moist and delicious, though the crumb may be slightly more tender.
- → How can I enhance the chocolate flavor?
-
Add 1-2 teaspoons of instant espresso powder to the dry ingredients—the coffee intensifies chocolate without adding a detectable coffee taste. You can also replace some of the boiling water with hot brewed coffee for even deeper flavor.