 Pin it
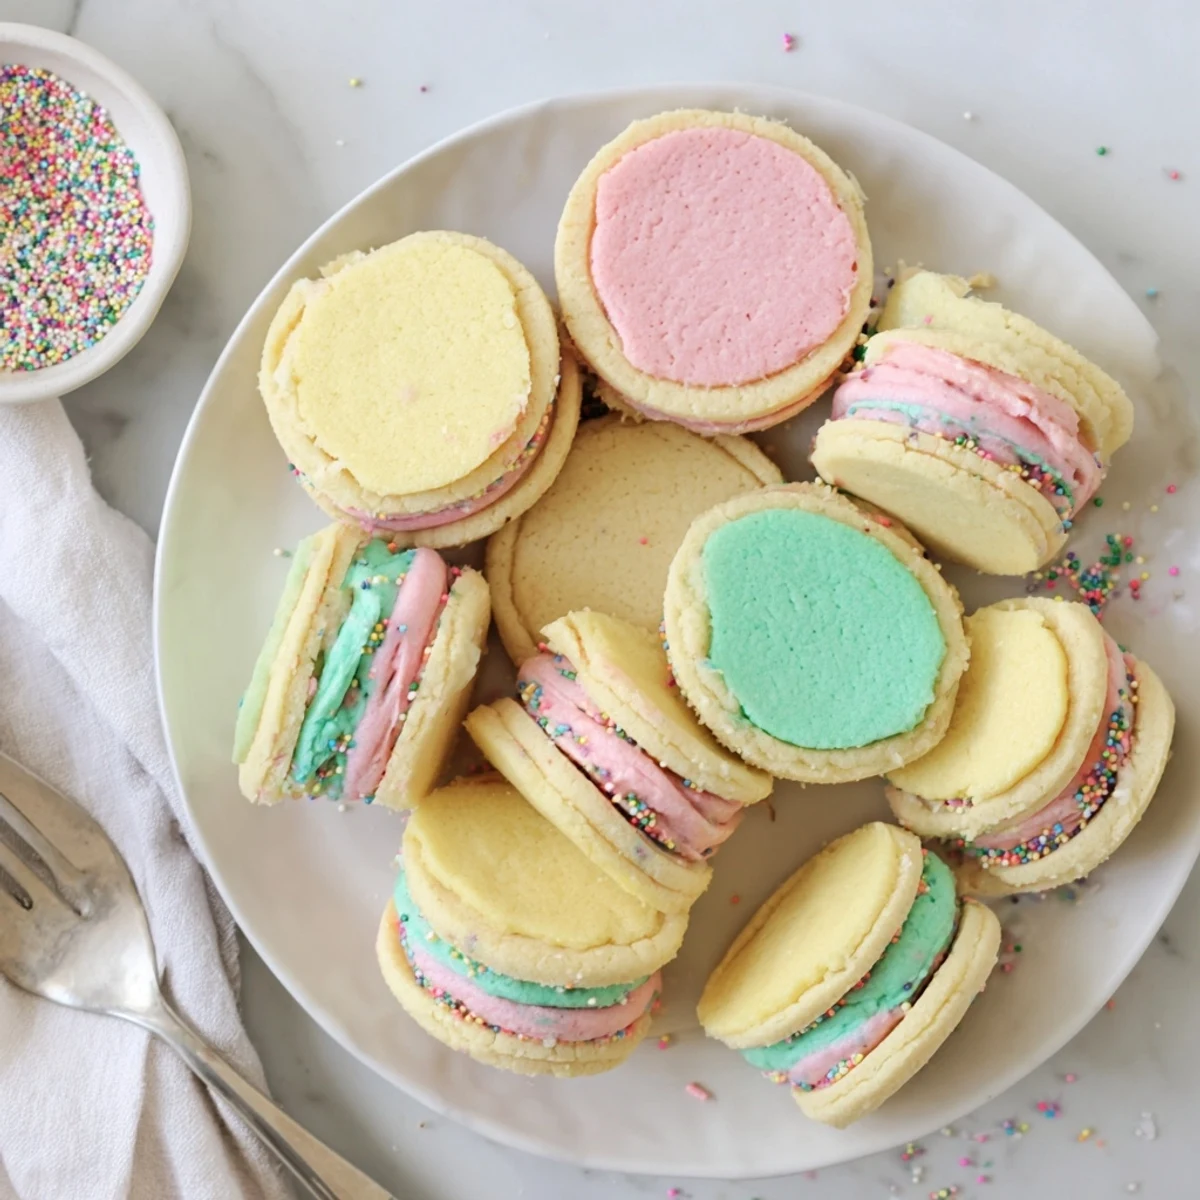
 Create delicate, buttery sugar cookies filled with vibrant pastel buttercream for a stunning dessert that captures the essence of spring. The cookies feature a tender, melt-in-your-mouth texture achieved through creaming butter and sugar until light and fluffy, then chilling the dough for easy rolling. The silky buttercream filling gets its dreamy pastel hues from gel food coloring, allowing you to customize colors for any occasion. These handheld treats come together in just 40 minutes of active time, though the chilling step requires planning ahead. Perfect for Easter brunches, baby showers, birthday parties, or whenever you want to add a touch of whimsy to your dessert table.
The kitchen counter was covered in soft pink, mint green, and buttery yellow frosting, and I watched my niece's eyes light up like she'd just witnessed magic. We'd been planning her spring birthday party for weeks, and these pastel sandwich cookies were her absolute request. I'll admit I was nervous about getting the colors right, but something about mixing those gentle pastel shades felt like painting with edible watercolors. That afternoon taught me that the prettiest desserts often come from the simplest moments of joy.
Last Easter, I made three batches and brought them to our family brunch. My grandmother, who's usually politely critical of desserts, actually took two before leaning over to whisper that they reminded her of the bakery treats from her childhood. Seeing her carefully choose which color combination to try first was the kind of cooking memory that sticks with you forever.
Ingredients
- All-purpose flour: The foundation that gives these cookies their tender structure and classic sugar cookie taste
- Baking powder: Just enough to help the cookies puff slightly without losing their delicate texture
- Salt: A pinch balances the sweetness and brings out the buttery flavor
- Unsalted butter: Room temperature butter creates that perfect melt-in-your-mouth texture we love
- Granulated sugar: Sweetens the cookies while helping them crisp slightly at the edges
- Egg: Binds everything together and adds richness for the perfect cookie texture
- Vanilla extract: Pure vanilla makes all the difference in flavor, so don't skimp here
- Powdered sugar: Creates the silky smooth buttercream that holds its shape beautifully
- Milk: Just enough to thin the frosting to the perfect piping consistency
- Gel food coloring: Gel colors give you those soft pastel shades without thinning the buttercream
Instructions
- Whisk the dry ingredients:
- In a medium bowl, combine flour, baking powder, and salt until everything is evenly distributed
- Cream the butter and sugar:
- Beat butter and sugar for 2 to 3 minutes until the mixture looks pale and fluffy like soft clouds
- Add the egg and vanilla:
- Beat in the egg and vanilla until you can't see any streaks of egg remaining
- Combine the dough:
- Gradually mix in the flour mixture just until the dough comes together and no dry spots remain
- Chill the dough:
- Divide dough in half, flatten into discs, wrap tightly, and refrigerate for at least 1 hour so the cookies hold their shape
- Prepare the oven:
- Preheat to 350°F and line baking sheets with parchment paper for easy cleanup
- Roll and cut:
- On a floured surface, roll dough to 1/4 inch thickness and cut into 2 inch rounds or shapes
- Bake the cookies:
- Arrange cookies 1 inch apart on prepared sheets and bake for 8 to 10 minutes until edges barely start turning golden
- Make the buttercream:
- Beat butter until creamy, gradually add powdered sugar, then mix in milk and vanilla until fluffy
- Color the frosting:
- Divide buttercream into small bowls and tint each with a tiny amount of gel food coloring for soft pastel shades
- Assemble the sandwiches:
- Spread or pipe colored buttercream on half the cookies and gently top with remaining cookies to form sandwiches
 Pin it
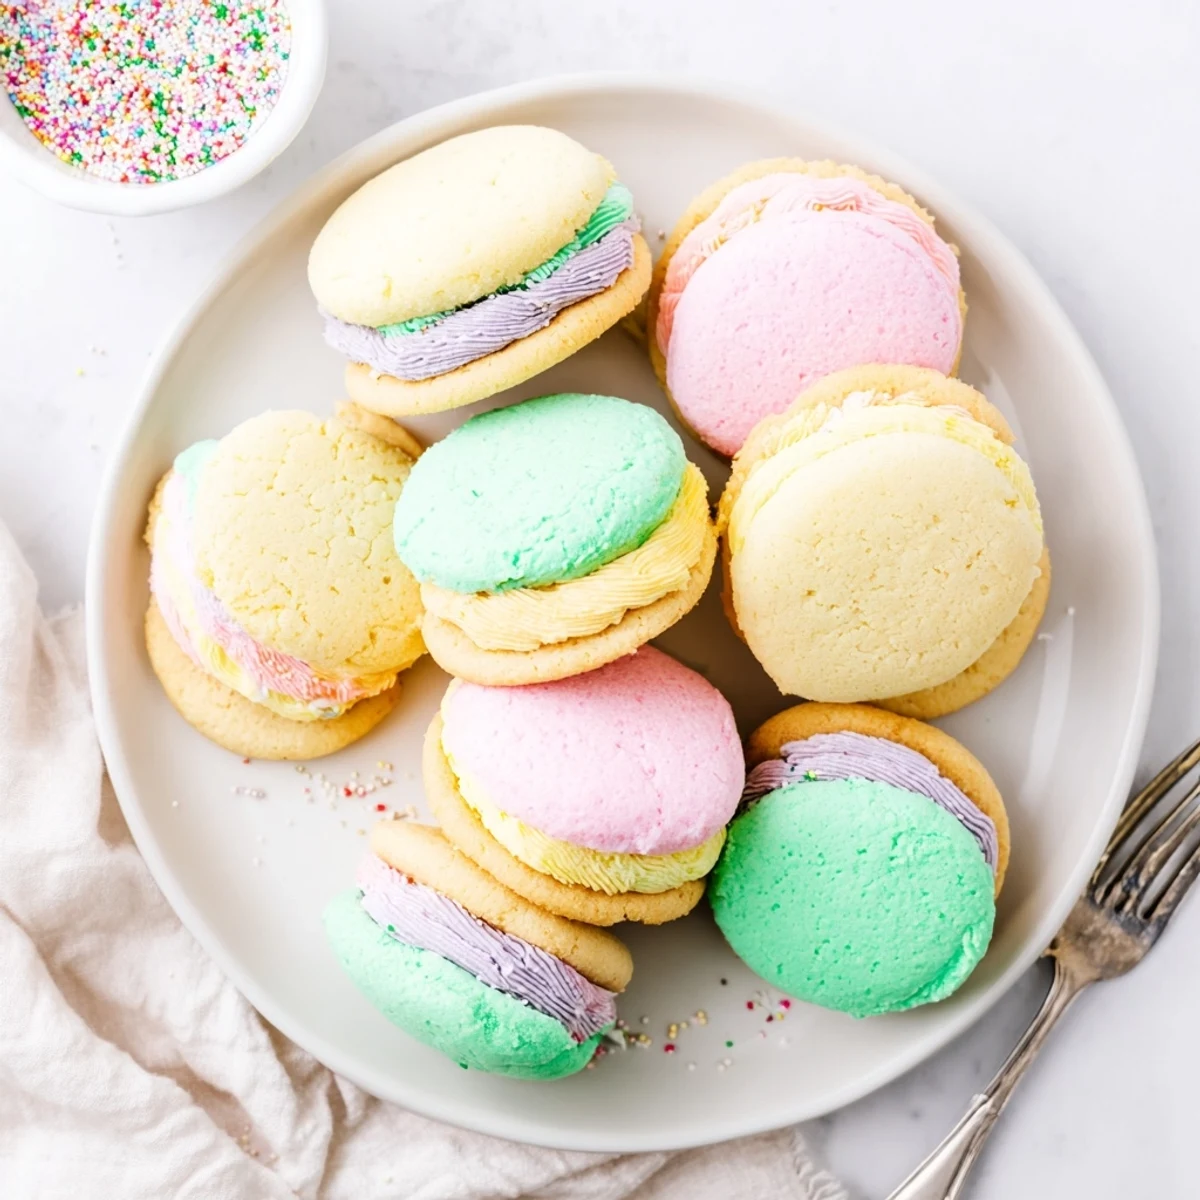
 There's something incredibly satisfying about lining up all those colorful sandwich cookies on a platter and seeing how the pastel shades play off each other. I've learned that the messier the kitchen looks after making these, the better the final result usually is.
Getting Perfect Pastel Colors
Start with just the tiniest dot of gel coloring on a toothpick, because you can always add more but you can't take it back. I once ruined an entire batch by going too heavy on the pink, ending up with bright magenta instead of soft rose. The key is patience and remembering that pastels are meant to be gentle and understated.
Working With Cookie Dough
If the dough becomes too soft while you're rolling and cutting, just pop it back in the refrigerator for 15 minutes. I learned this the hard way when my Easter egg shapes turned into blobs that looked more like abstract art. Working with cool dough is the secret to maintaining crisp edges and clean shapes.
Storage And Serving Tips
These cookies actually taste better on day two because the buttercream has time to soften the cookies slightly, creating the most perfect texture. Store them in a single layer or separate layers with wax paper to prevent sticking.
- Bring cookies to room temperature 30 minutes before serving for the best flavor and texture
- Avoid stacking more than two layers high or the bottom ones might get crushed
- If the buttercream feels too soft after filling, chill the assembled cookies for 15 minutes to set
 Pin it
 Every time I make these pastel sandwich cookies, I'm reminded that the simplest recipes often create the most lasting memories. There's pure joy in biting into that first sweet, buttery sandwich cookie.
Common Recipe Questions
- → How long should I chill the cookie dough?
-
Chill the dough for at least 1 hour before rolling. This prevents sticking and helps the cookies maintain their shape during baking. You can chill overnight for better results.
- → Can I make these cookies ahead of time?
-
Yes, you can prepare the dough up to 3 days in advance and store it wrapped in the refrigerator. Bake and assemble the sandwiches within 24 hours of serving for the freshest texture.
- → What's the best way to achieve pastel colors?
-
Use gel food coloring rather than liquid for more concentrated color. Start with a tiny amount on a toothpick and gradually add until you reach your desired pastel shade. Gel coloring won't thin out the buttercream.
- → How should I store the assembled cookie sandwiches?
-
Store in an airtight container at room temperature for up to 3 days. Place parchment paper between layers if stacking. Avoid refrigeration as it can make the cookies stale and the buttercream hard.
- → Can I freeze these cookie sandwiches?
-
Freeze unfilled cookies for up to 3 months in a freezer-safe container. For assembled sandwiches, flash freeze individually on a baking sheet, then store in freezer bags for up to 2 months. Thaw at room temperature.
- → What size cookie cutter works best?
-
A 2-inch cutter creates perfect bite-sized sandwiches, though you can use any shape. Keep in mind that larger cookies will yield fewer sandwiches and may require more filling.