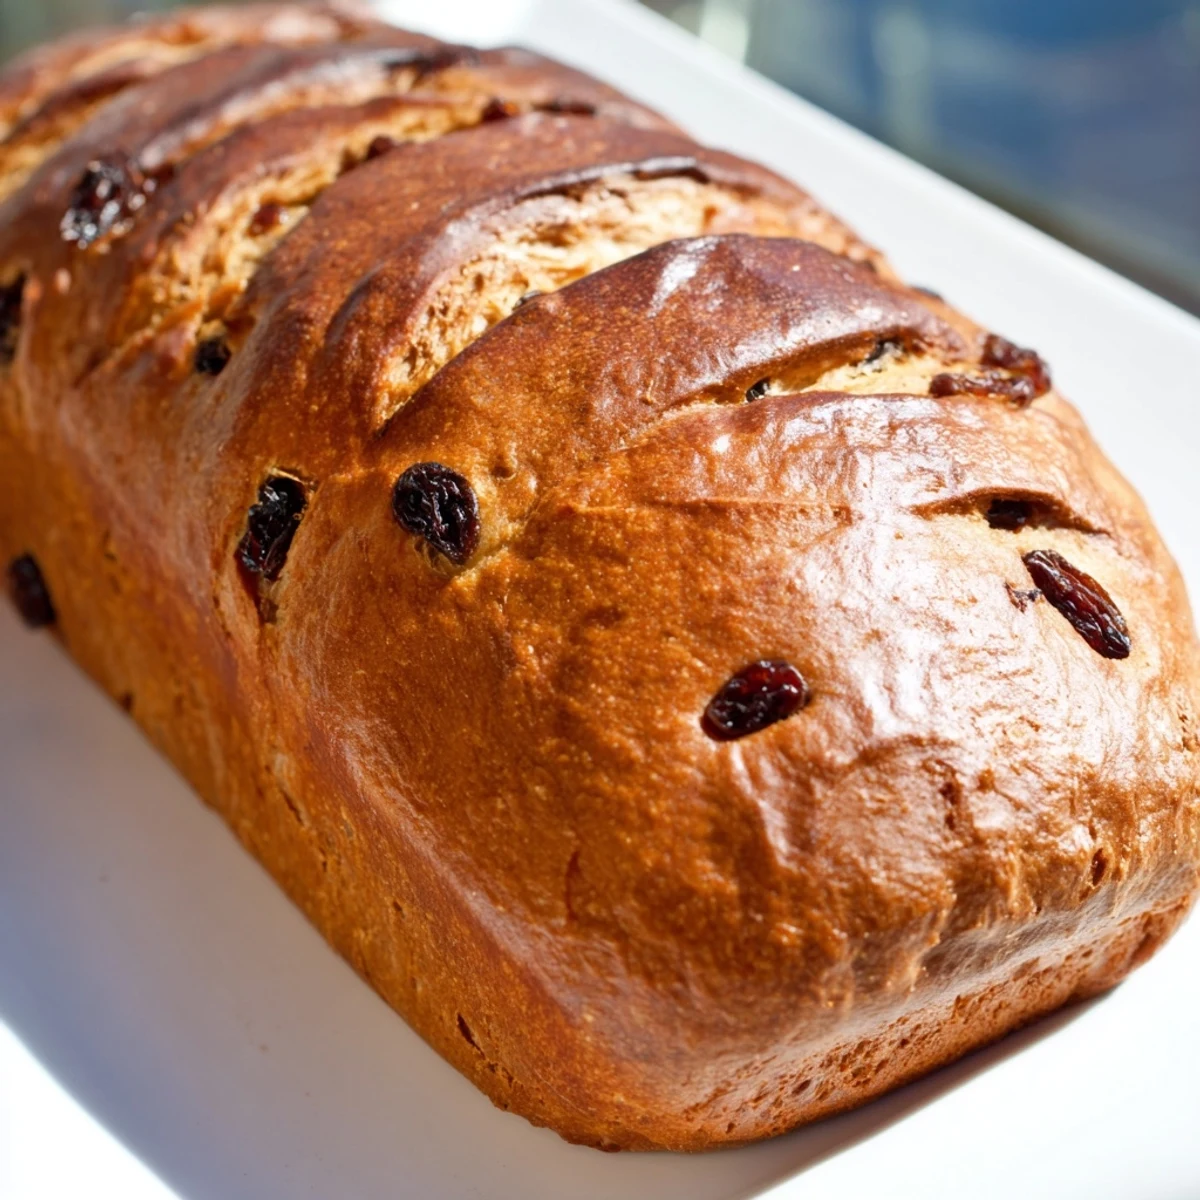
 Pin it
 This homemade cinnamon raisin artisan bread delivers bakery-quality results with minimal effort. The combination of warm ground cinnamon and plump raisins creates a perfectly balanced sweetness throughout each tender slice. With its crispy golden crust and soft, chewy interior, this loaf captures the essence of traditional European baking while remaining accessible for home bakers of all skill levels.
The fermentation process develops deep, complex flavors that shine through whether you enjoy it toasted with melting butter, paired with cream cheese, or simply sliced fresh from the cooling rack. This versatile loaf complements both morning coffee rituals and afternoon tea gatherings.
Theres nothing quite like the aroma of cinnamon and yeast filling the kitchen on a gray Sunday morning. I discovered this recipe during a particularly harsh winter when I needed something warm and comforting to bake. The first time I pulled this loaf from the oven, my apartment smelled like an old-fashioned bakery, and I knew Id found a keeper.
My roommate walked in while this bread was baking and literally stopped in her tracks. She sat at the kitchen table for the last twenty minutes of baking time, just waiting for it to come out of the oven. We ended up eating half the loaf warm with butter, standing right there in the kitchen.
Ingredients
- Bread flour: The higher protein content creates that desirable chewy texture and helps the loaf hold its structure
- Ground cinnamon: Dont be tempted to add more than two teaspoons or it can actually inhibit the yeast activity
- Instant yeast: This variety doesnt need proofing and saves you a step without sacrificing any rise
- Warm water: Keep it around 110°F, hot enough to activate the yeast but not so hot it kills the precious organisms
- Raisins: Plump them in warm water for 10 minutes if they seem especially dry or hard
- Softened butter: Adding fat to the dough creates a softer crumb and better keeping quality
Instructions
- Mix the dry foundation:
- Whisk together the bread flour, cinnamon, salt, instant yeast, and sugar in a large bowl until thoroughly combined
- Bring the dough together:
- Pour in the warm water and add the softened butter, stirring with a wooden spoon until you have a shaggy, sticky mass that begins to pull away from the sides
- Knead until smooth:
- Add the raisins and knead by hand on a lightly floured surface or with a dough hook for 7 to 10 minutes until the dough feels smooth, elastic, and slightly tacky but not sticking to your hands
- First rise:
- Shape the dough into a neat ball, place it in a greased bowl, cover with a damp towel, and let it rise in a warm spot for 1 to 1.5 hours until it has doubled in size
- Shape your loaf:
- Gently turn the dough onto a floured surface, being careful not to deflate it completely, then shape it into a round or oval loaf by folding the edges toward the center
- Second rise:
- Place the shaped loaf on a parchment-lined baking sheet or in a floured proofing basket, cover, and let rise for 45 minutes until puffy and visibly larger
- Preheat your oven:
- Heat your oven to 425°F, placing a Dutch oven inside if you are using one to get it nice and hot
- Score the surface:
- Use a sharp knife or lame to make 3 or 4 shallow diagonal slashes across the top of the loaf, which helps it expand beautifully in the oven
- Bake with steam:
- Transfer the loaf into your hot Dutch oven or onto the baking sheet, cover with the lid or foil, and bake for 20 minutes to create steam for a crispy crust
- Finish baking:
- Remove the lid or foil and continue baking for another 20 minutes until the crust is deep golden brown and the loaf sounds hollow when tapped on the bottom
- Brush and cool:
- Brush the hot loaf with melted butter if you want an extra soft, fragrant crust, then cool completely on a wire rack for at least 1 hour before slicing
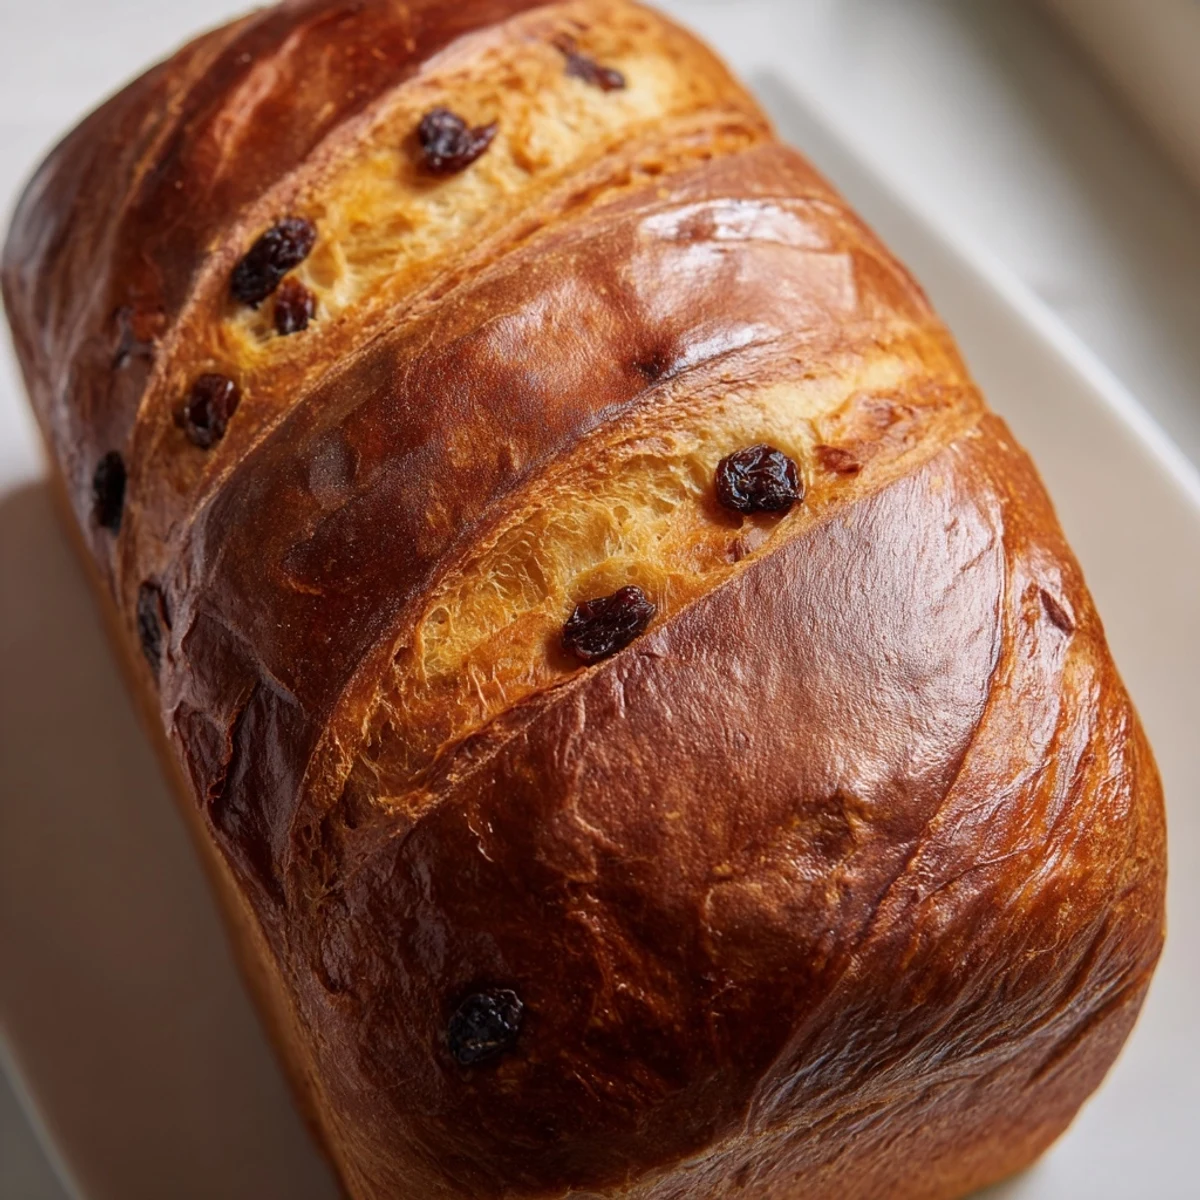 Pin it
 This bread became my go to for housewarming gifts after three different friends specifically requested the recipe. Something about handmade bread feels like giving someone a little piece of home, especially when its filled with such comforting flavors.
Getting the Best Rise
Ive learned that finding the warmest spot in your kitchen makes all the difference. Sometimes I turn my oven light on and place the dough inside, the gentle heat creates the perfect proofing environment without being too hot.
Customizing Your Loaf
During autumn I swap the raisins for chopped dried apples and add a pinch of nutmeg. The variations are endless, and Ive found that adding nuts like pecans or walnuts adds wonderful crunch that pairs perfectly with the soft crumb.
Storage and Serving Suggestions
This bread keeps remarkably well wrapped in plastic at room temperature for up to three days, though it rarely lasts that long in my house. For longer storage, slice and freeze the loaf, then toast individual slices straight from the freezer.
- Toast thick slices and top with cream cheese for an incredibly simple breakfast
- Turn stale slices into bread pudding with extra cinnamon and vanilla
- Make the most incredible French toast youve ever tasted
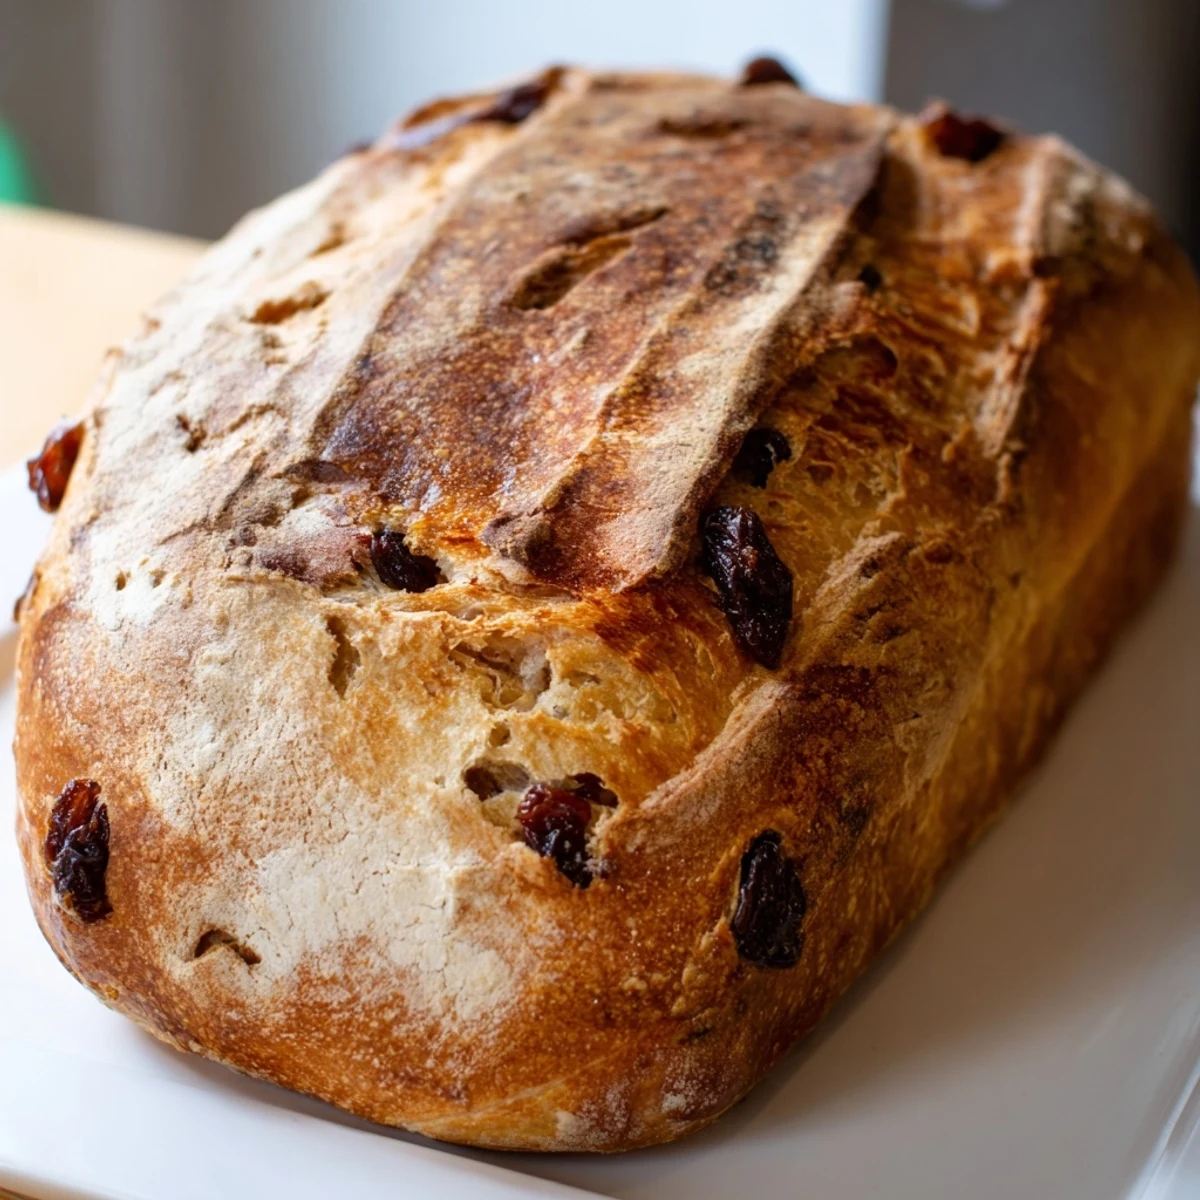 Pin it
 Theres something deeply satisfying about pulling a beautiful, golden loaf from your own oven. I hope this recipe brings as much warmth to your kitchen as it has to mine.
Common Recipe Questions
- → How do I know when my dough has risen enough?
-
The dough is ready when it has doubled in size and a gentle finger press leaves an indentation that slowly springs back. This typically takes 1-1.5 hours in a warm, draft-free spot.
- → Can I use active dry yeast instead of instant yeast?
-
Yes, simply dissolve the active dry yeast in the warm water with a pinch of sugar first. Let it sit for 5-10 minutes until foamy before proceeding with the rest of the ingredients.
- → What's the purpose of brushing with melted butter after baking?
-
Brushing with melted butter adds a beautiful shine to the crust while keeping it tender and adding a subtle buttery flavor that complements the cinnamon and raisins.
- → How should I store this loaf?
-
Wrap tightly in plastic or store in an airtight container at room temperature for up to 3 days. For longer storage, slice and freeze for up to 3 months, thawing individual slices as needed.
- → Can I make this without a Dutch oven?
-
Absolutely. Bake on a parchment-lined baking sheet and tent loosely with foil for the first 20 minutes to create steam, then remove foil for the final bake to achieve a golden crust.
- → Why does the dough need two rising periods?
-
The first rise builds structure and develops flavor, while the second rise after shaping gives the final volume and creates those beautiful air pockets inside the finished loaf.