 Pin it
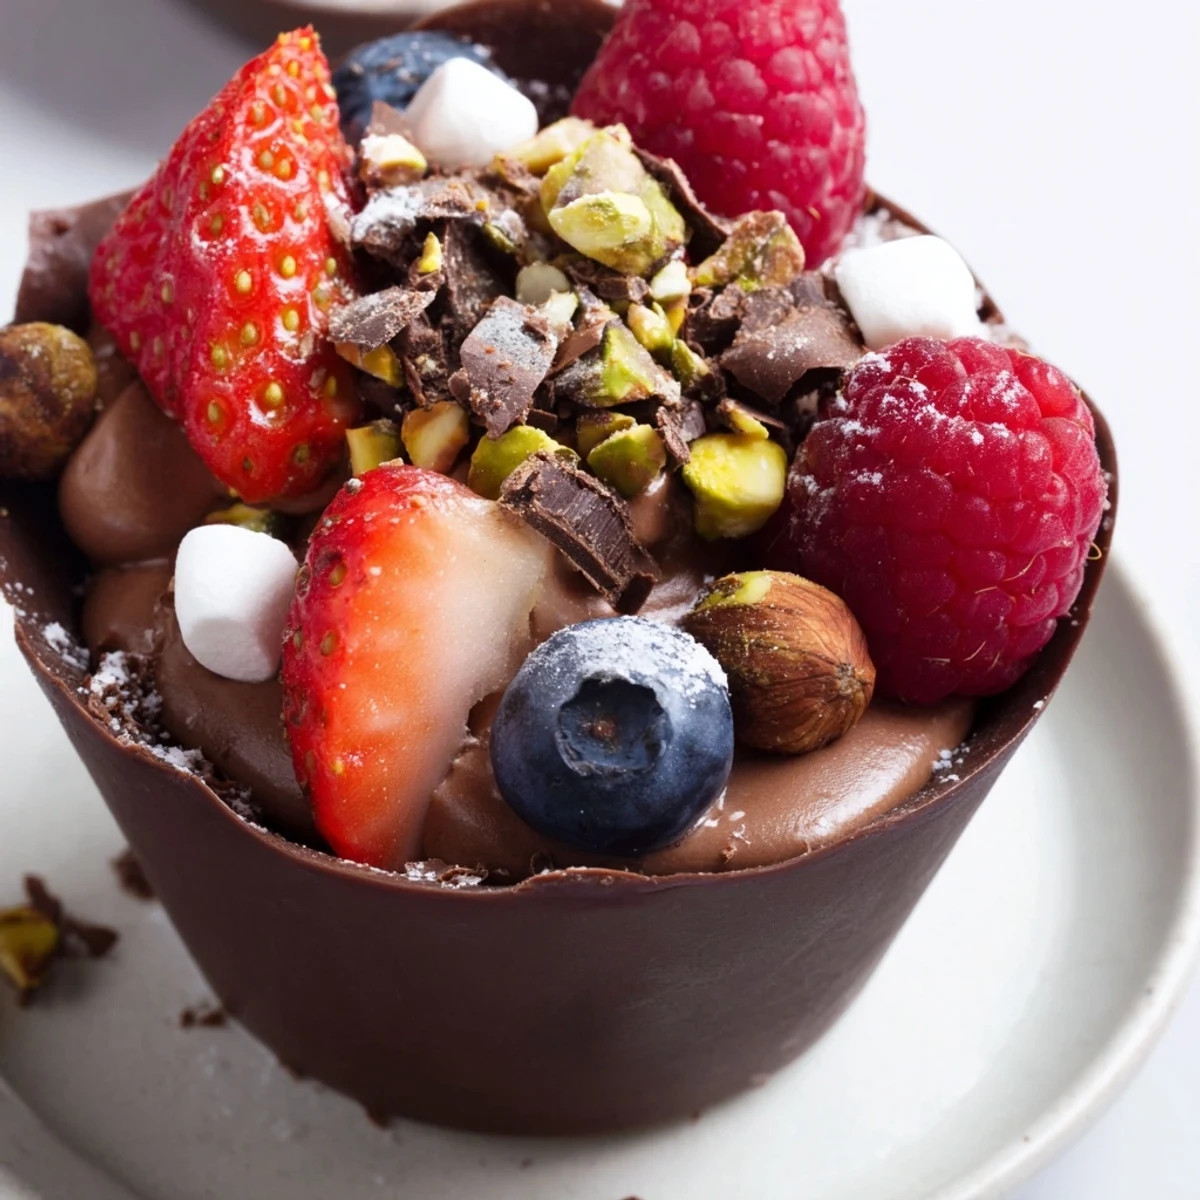
 Create stunning chocolate grazing cups with edible chocolate shells filled with silky dark chocolate mousse. These elegant handheld desserts feature layers of creamy mousse topped with vibrant fresh berries, crunchy chopped nuts, mini marshmallows, and chocolate curls. Ready in just over an hour with simple preparation, these luxurious treats are perfect for dessert tables, dinner parties, and special celebrations.
The first time I made chocolate cups, my kitchen smelled like a chocolate shop had exploded in the best possible way. I was attempting to impress some friends with something fancy, but honestly I was just winging it and hoping the chocolate would actually set. When those fragile little cups emerged from the fridge, perfectly shaped and gleaming, I felt like I had discovered edible magic.
I served these at my sisters birthday last spring and watched my normally stoic father close his eyes after the first bite. The way fresh berries cut through the richness creates this perfect balance that keeps everyone coming back for seconds. Now they are my go to when I need to make something that says I put effort in without actually losing my entire Sunday.
Ingredients
- 200 g dark chocolate: Use at least 60 percent cocoa for the cups because it holds shape better and gives that sophisticated adult chocolate taste
- 200 ml heavy cream: Cold from the fridge is non negotiable here or your mousse will never reach those gorgeous soft peaks
- 100 g dark chocolate: This melts into the cream so choose something you would eat straight from the bar
- 2 tbsp powdered sugar: Dissolves instantly into the cream unlike granulated which leaves you with weird grainy spots
- 1 tsp vanilla extract: The secret weapon that makes chocolate taste more like itself
- 1 cup fresh mixed berries: Use whatever looks best at the market but raspberries and strawberries are the classic dream team
- 2 tbsp chopped nuts: Hazelnuts pair beautifully with chocolate but almonds work perfectly if that is what you have
- 2 tbsp mini marshmallows: Pure nostalgia factor and adds the cutest little fluffiness to each bite
- 2 tbsp chocolate curls: Use a vegetable peeler on a chocolate bar to make these look way fancier than they actually are
Instructions
- Create the chocolate cups:
- Melt the chocolate in 30 second bursts stirring between each until it is smooth and glossy. Paint the inside of your liners with a thin even layer using the back of a spoon and pop them in the fridge for 20 minutes until they are completely firm.
- Whip up the mousse:
- Melt the remaining chocolate and let it cool slightly while you whip the cream with sugar and vanilla to soft peaks. Fold a dollop of cream into the chocolate first to loosen it up then gently fold that mixture back into the remaining cream.
- Build your masterpiece:
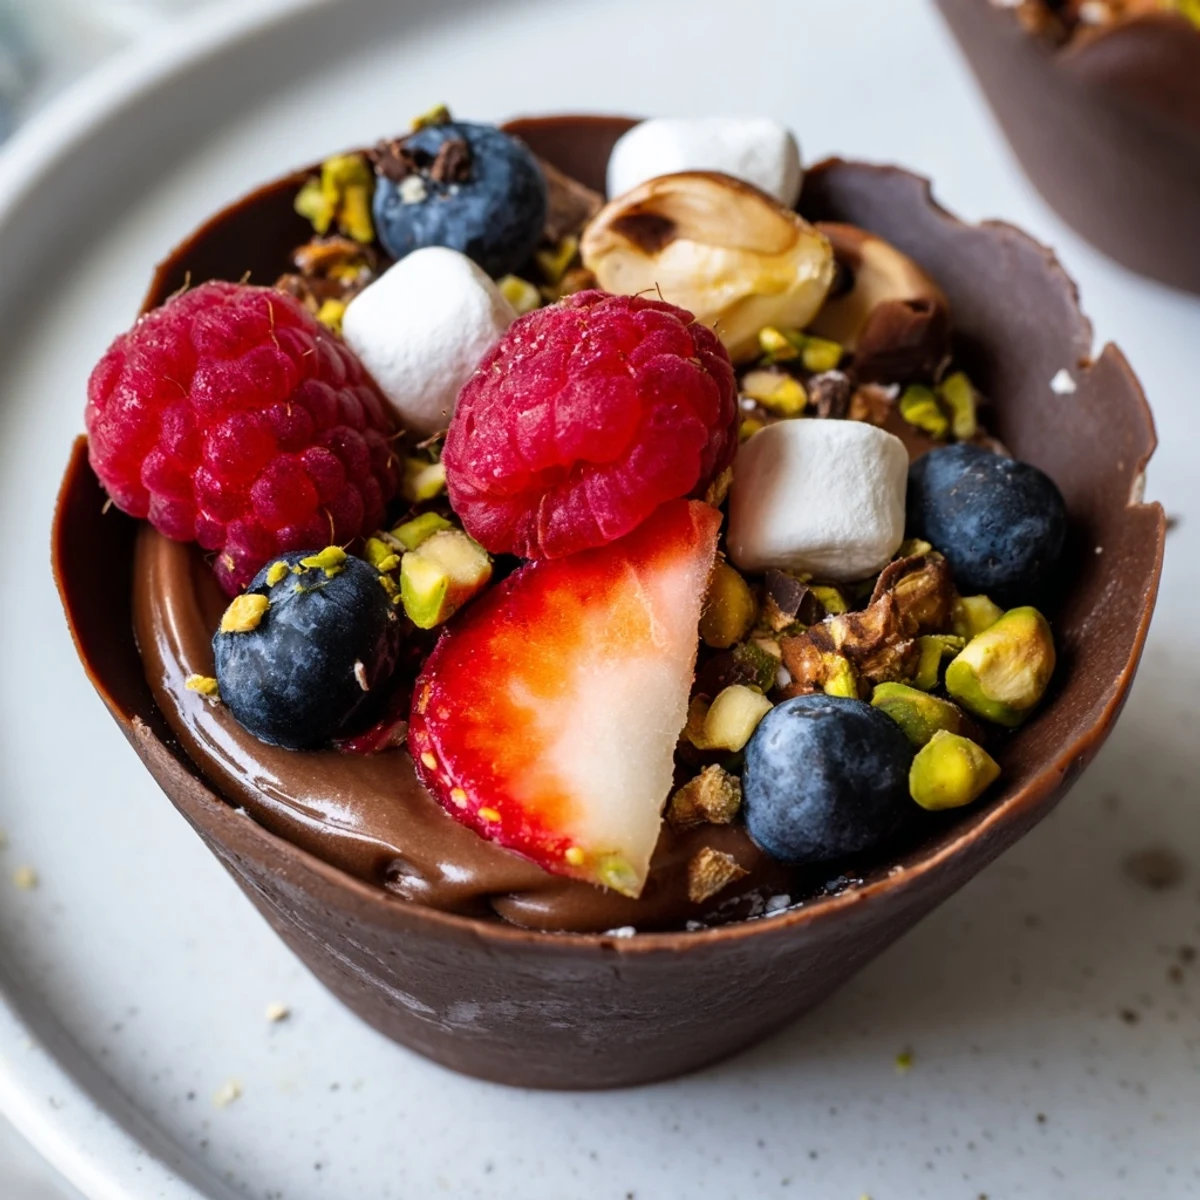
- Spoon the mousse into your chocolate cups until they are about two thirds full then have fun arranging your toppings. Pile on the berries scatter the nuts and tuck in those marshmallows wherever they will fit.
- Final chill:
- Let everything hang out in the refrigerator for at least 20 minutes so the mousse sets up properly.
 Pin it
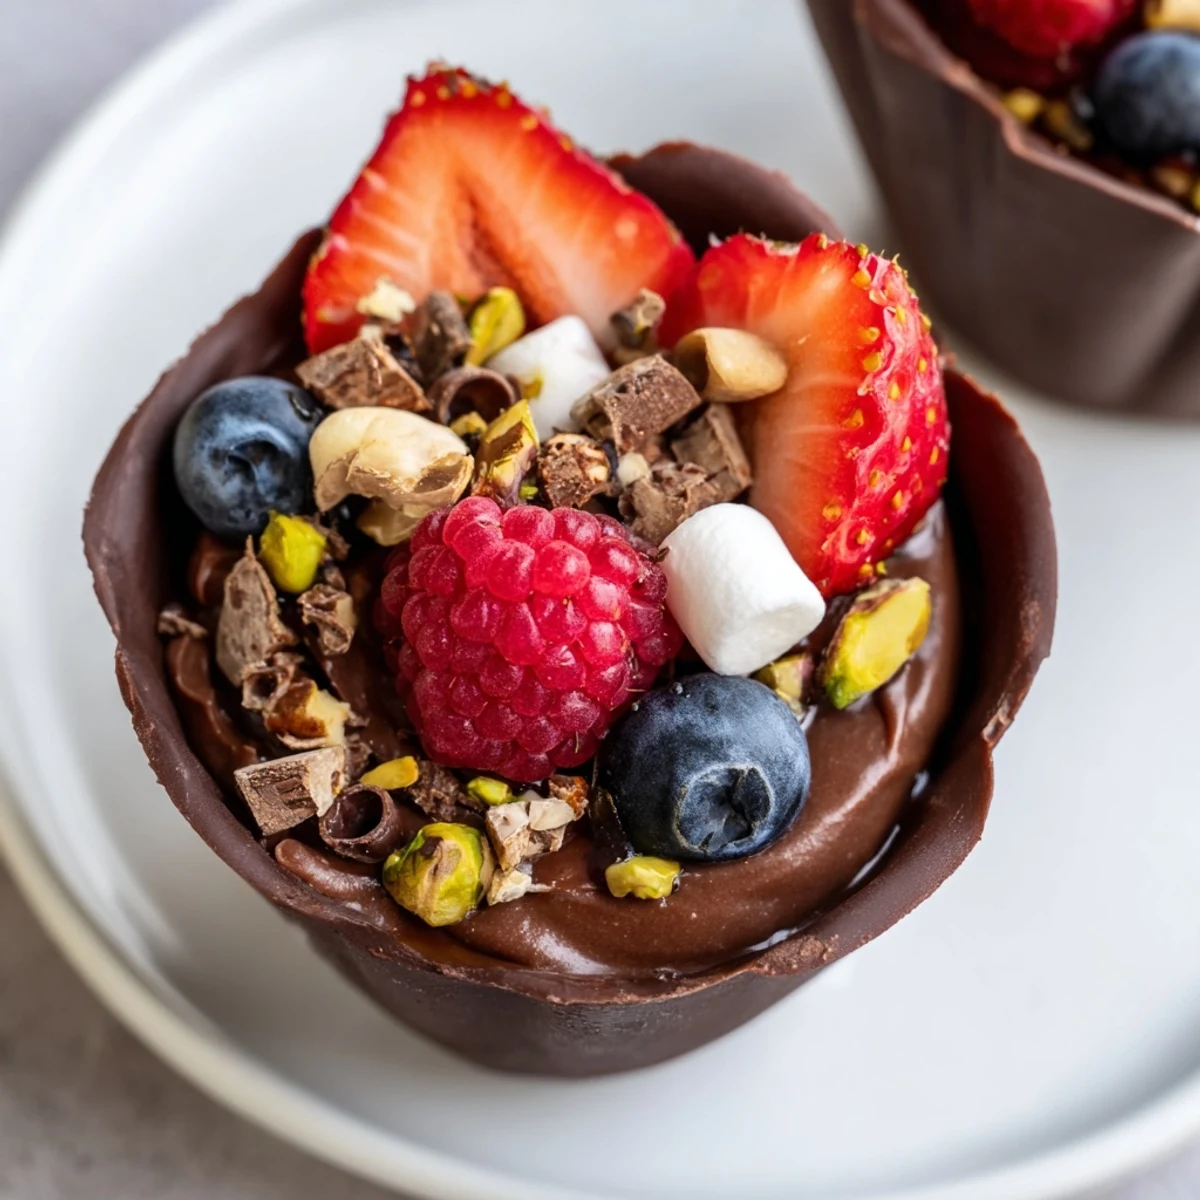
 These have become my signature for dinner parties because people literally gasp when I bring them out. Something about eating chocolate out of chocolate feels so indulgent and special.
Getting The Chocolate Right
I learned the hard way that overheating chocolate makes it seize into a sad grainy mess. Now I microwave in short bursts and stir like my life depends on it because smooth chocolate makes or breaks this whole recipe.
Make Ahead Magic
You can make the cups and mousse a day ahead but keep them separate until right before serving. Once assembled these are best eaten within a few hours because the moisture from the berries starts softening that perfect chocolate shell.
Serving Suggestions
I love setting up a little toppings station and letting guests customize their own cups. It turns dessert into an activity and gives everyone exactly what they want.
- Try a tiny pinch of flaky sea salt on top if you want that salty sweet moment
- A dollop of fresh whipped cream never hurt anyone
- Coffee or dessert wine is practically mandatory with these
 Pin it
 There is something deeply satisfying about eating a dish where every single component is delicious. No filler no fluff just pure chocolate joy in a cute edible cup.
Common Recipe Questions
- → Can I make these chocolate cups ahead of time?
-
Yes, you can prepare the chocolate cups and mousse separately up to 24 hours in advance. Store the cups in an airtight container at room temperature and refrigerate the mousse. Assemble just before serving for the best texture and presentation.
- → What if I don't have silicone liners?
-
Paper cupcake liners work perfectly fine. Alternatively, you can use small silicone molds or even create free-form cups using inverted silicone molds as shapes. Just ensure whatever you use can withstand the chilling process.
- → Can I substitute the heavy cream?
-
Coconut cream works well for a dairy-free version, though the texture will be slightly denser. For a lighter option, you can use whipping cream with a higher fat content for better stability when folding with the chocolate.
- → How do I prevent the chocolate cups from cracking?
-
Ensure your chocolate is properly tempered and not overheated. Apply a thick, even layer and chill thoroughly before removing the liners. Work in a cool room and handle the cups gently when peeling off the liners.
- → What other toppings work well?
-
Fresh mint leaves, crushed cookies, caramel drizzle, toasted coconut flakes, fresh figs, pomegranate seeds, or even a sprinkle of sea salt complement the rich chocolate beautifully. Choose toppings that provide contrasting textures and flavors.